FirebaseはGoogleが運営しているBaaSです。
多機能で開発の助けになる事間違いなしです。
どんな機能があるかはこちらをご覧ください。
Firebaseを使って2文字しばりのメッセージアプリを作ってようと思います
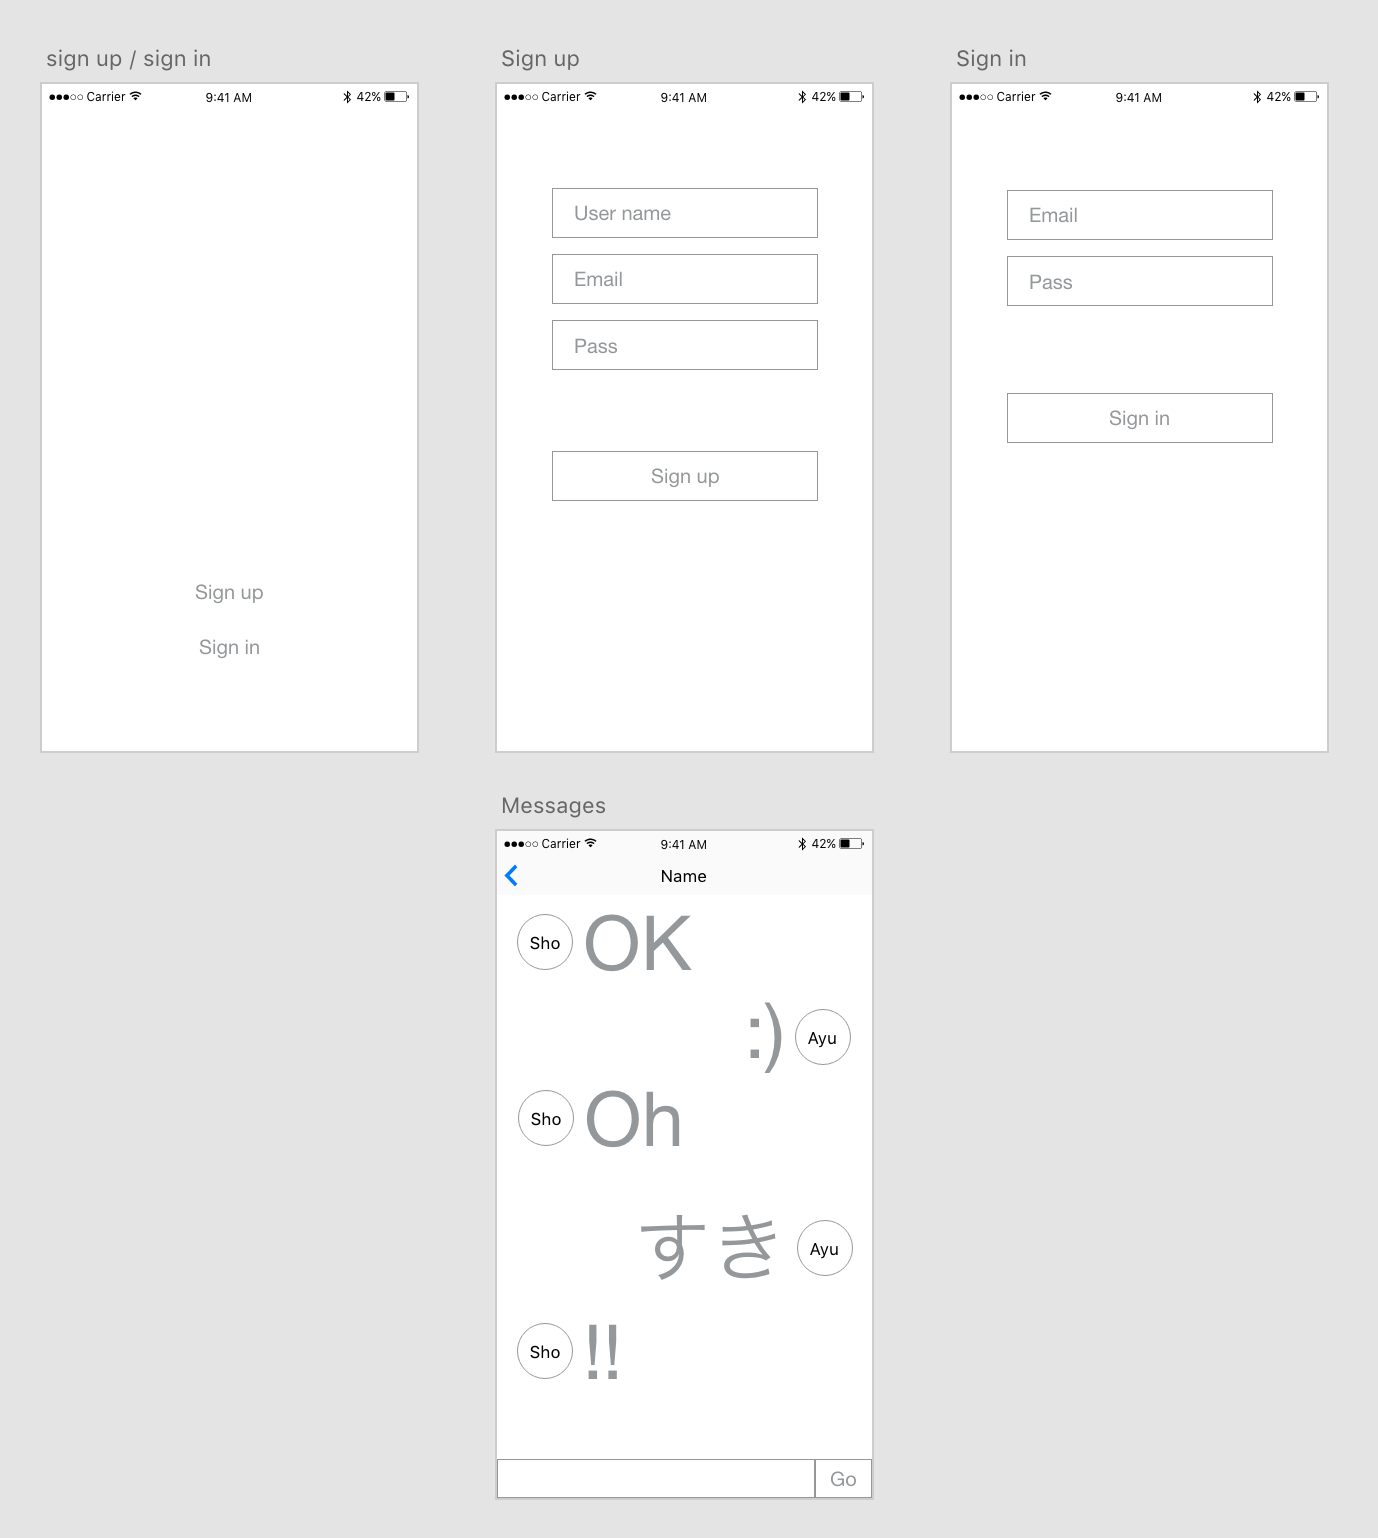
画面の構成図です。
主な機能です。
・ユーザー登録
・ログイン
・メッセージ
今回はサンプルなので友達の追加などはなく全ユーザーでメッセージを交換するような形です。(それはそれでおもしろそう)
Firebase導入
こちらにアクセスします。
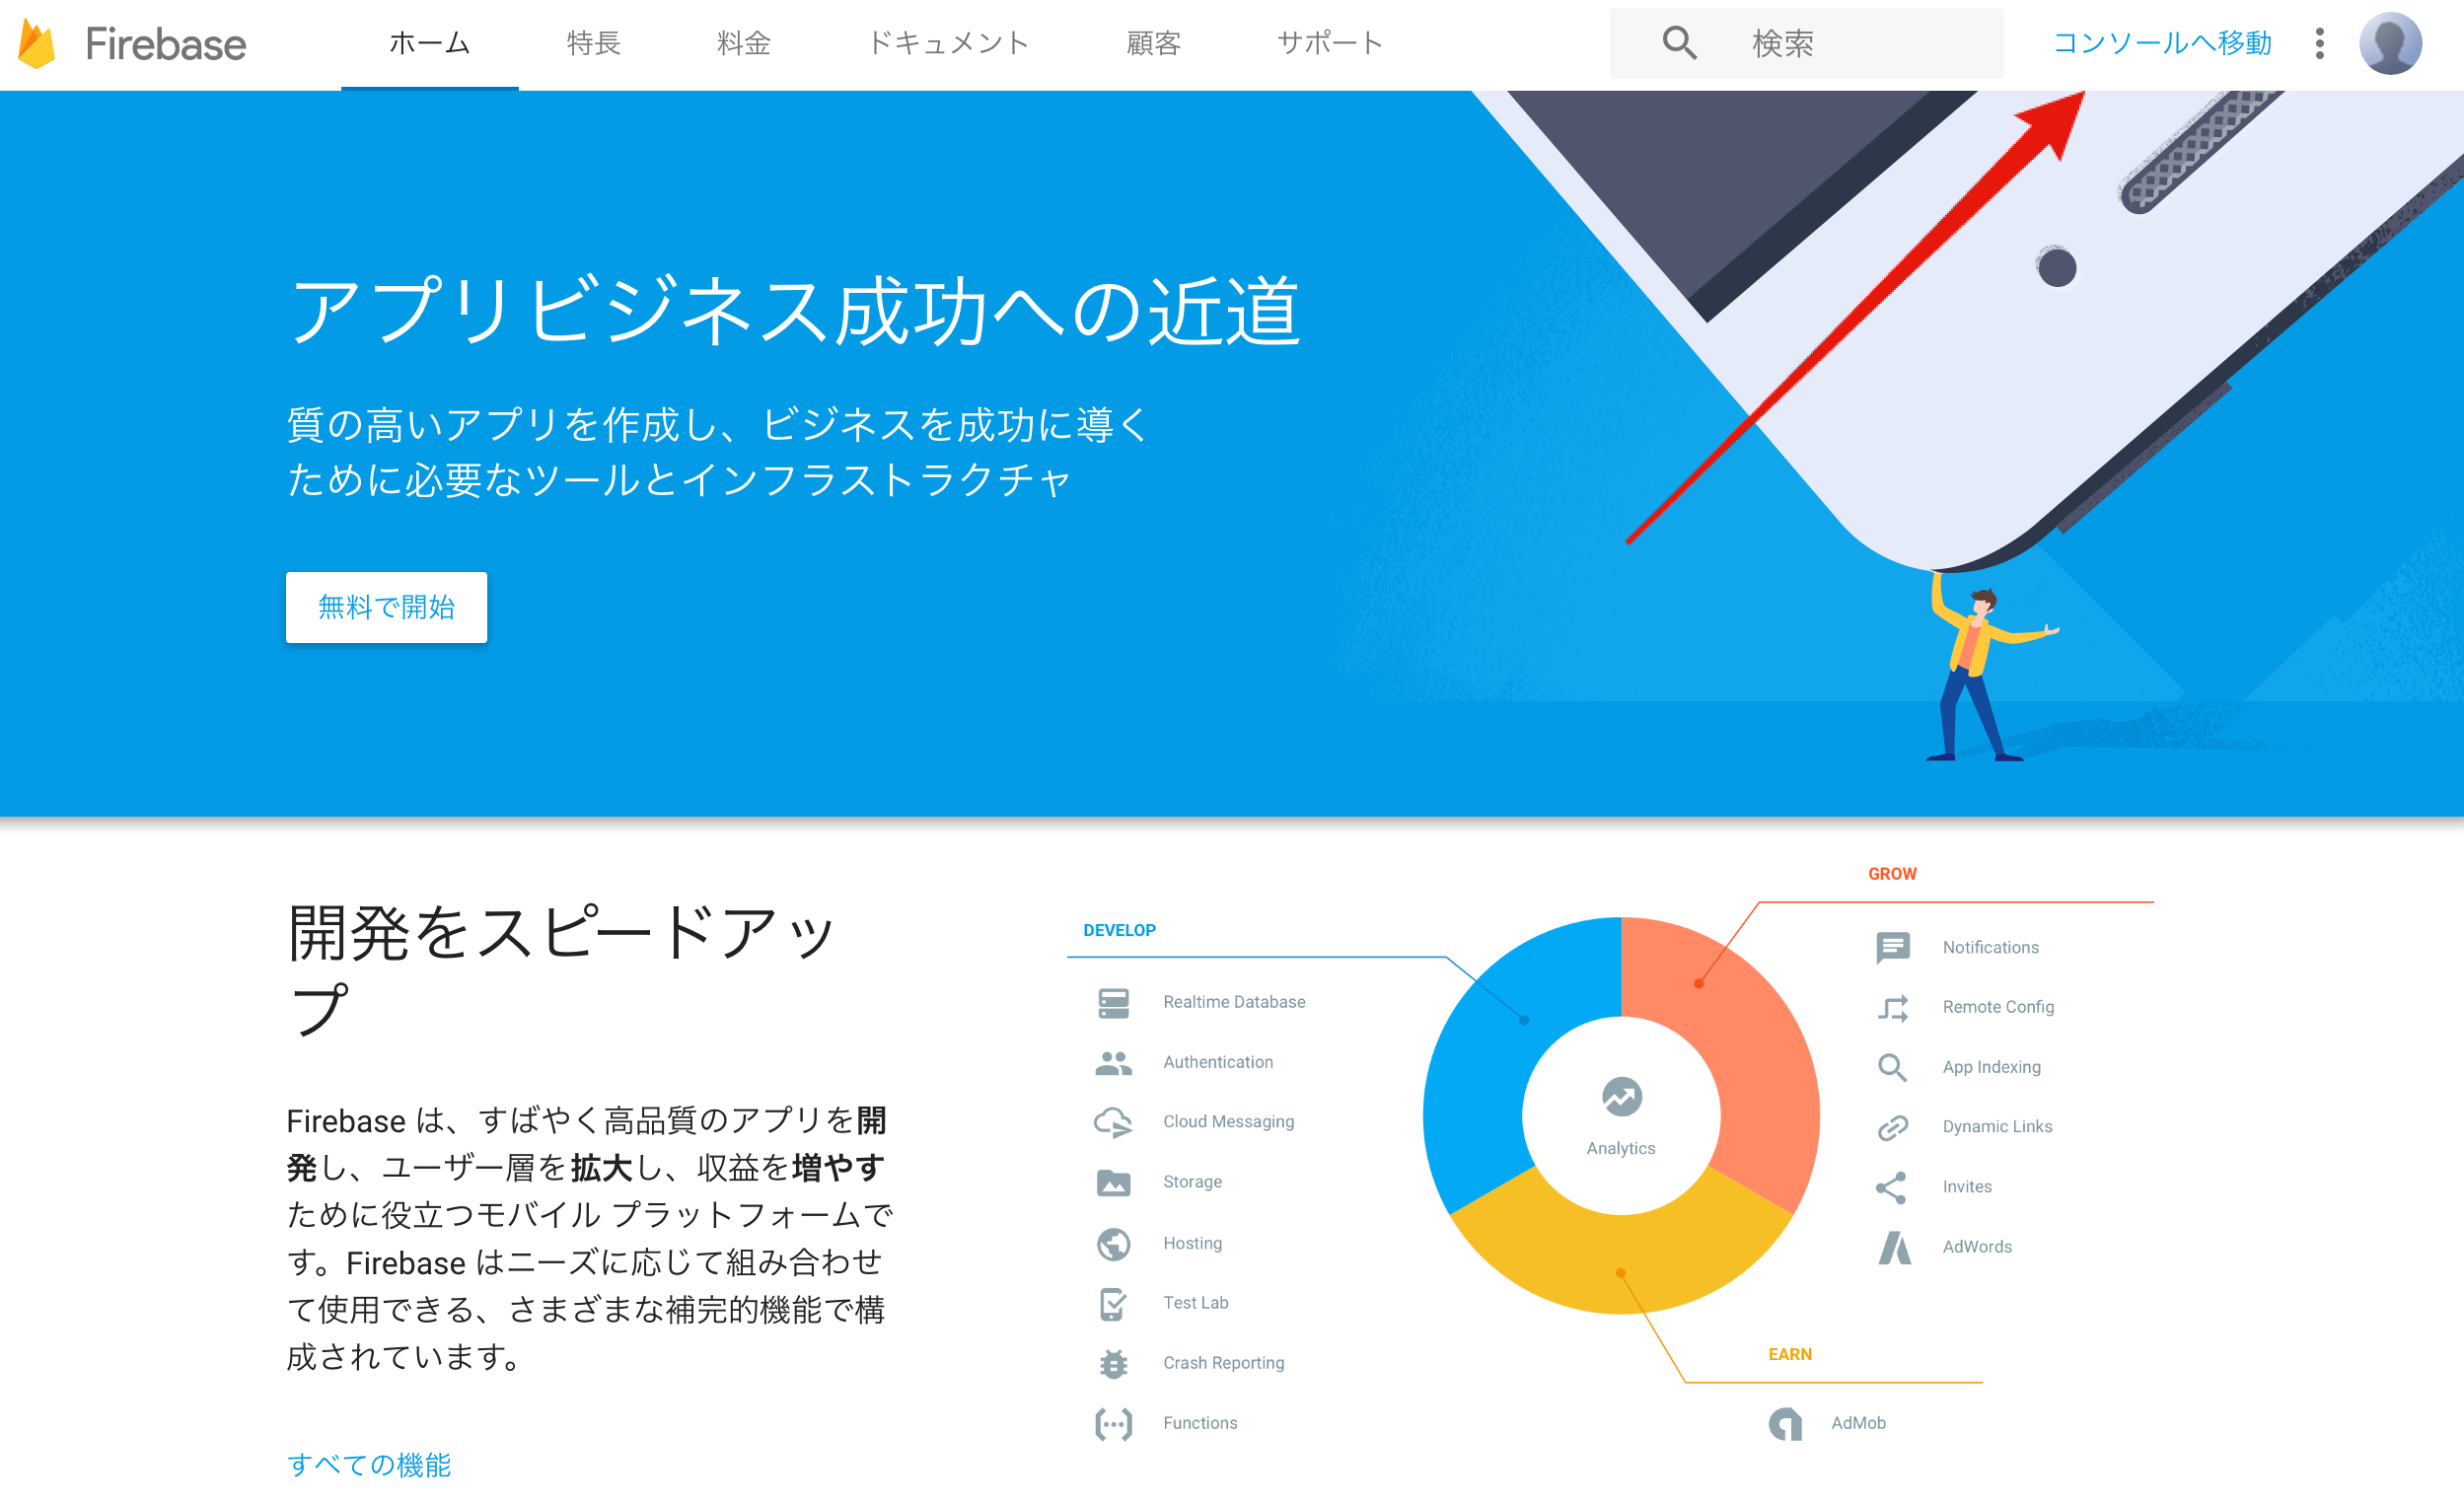 このような画面が表示されると思うのでコンソールへ移動をクリックします。
 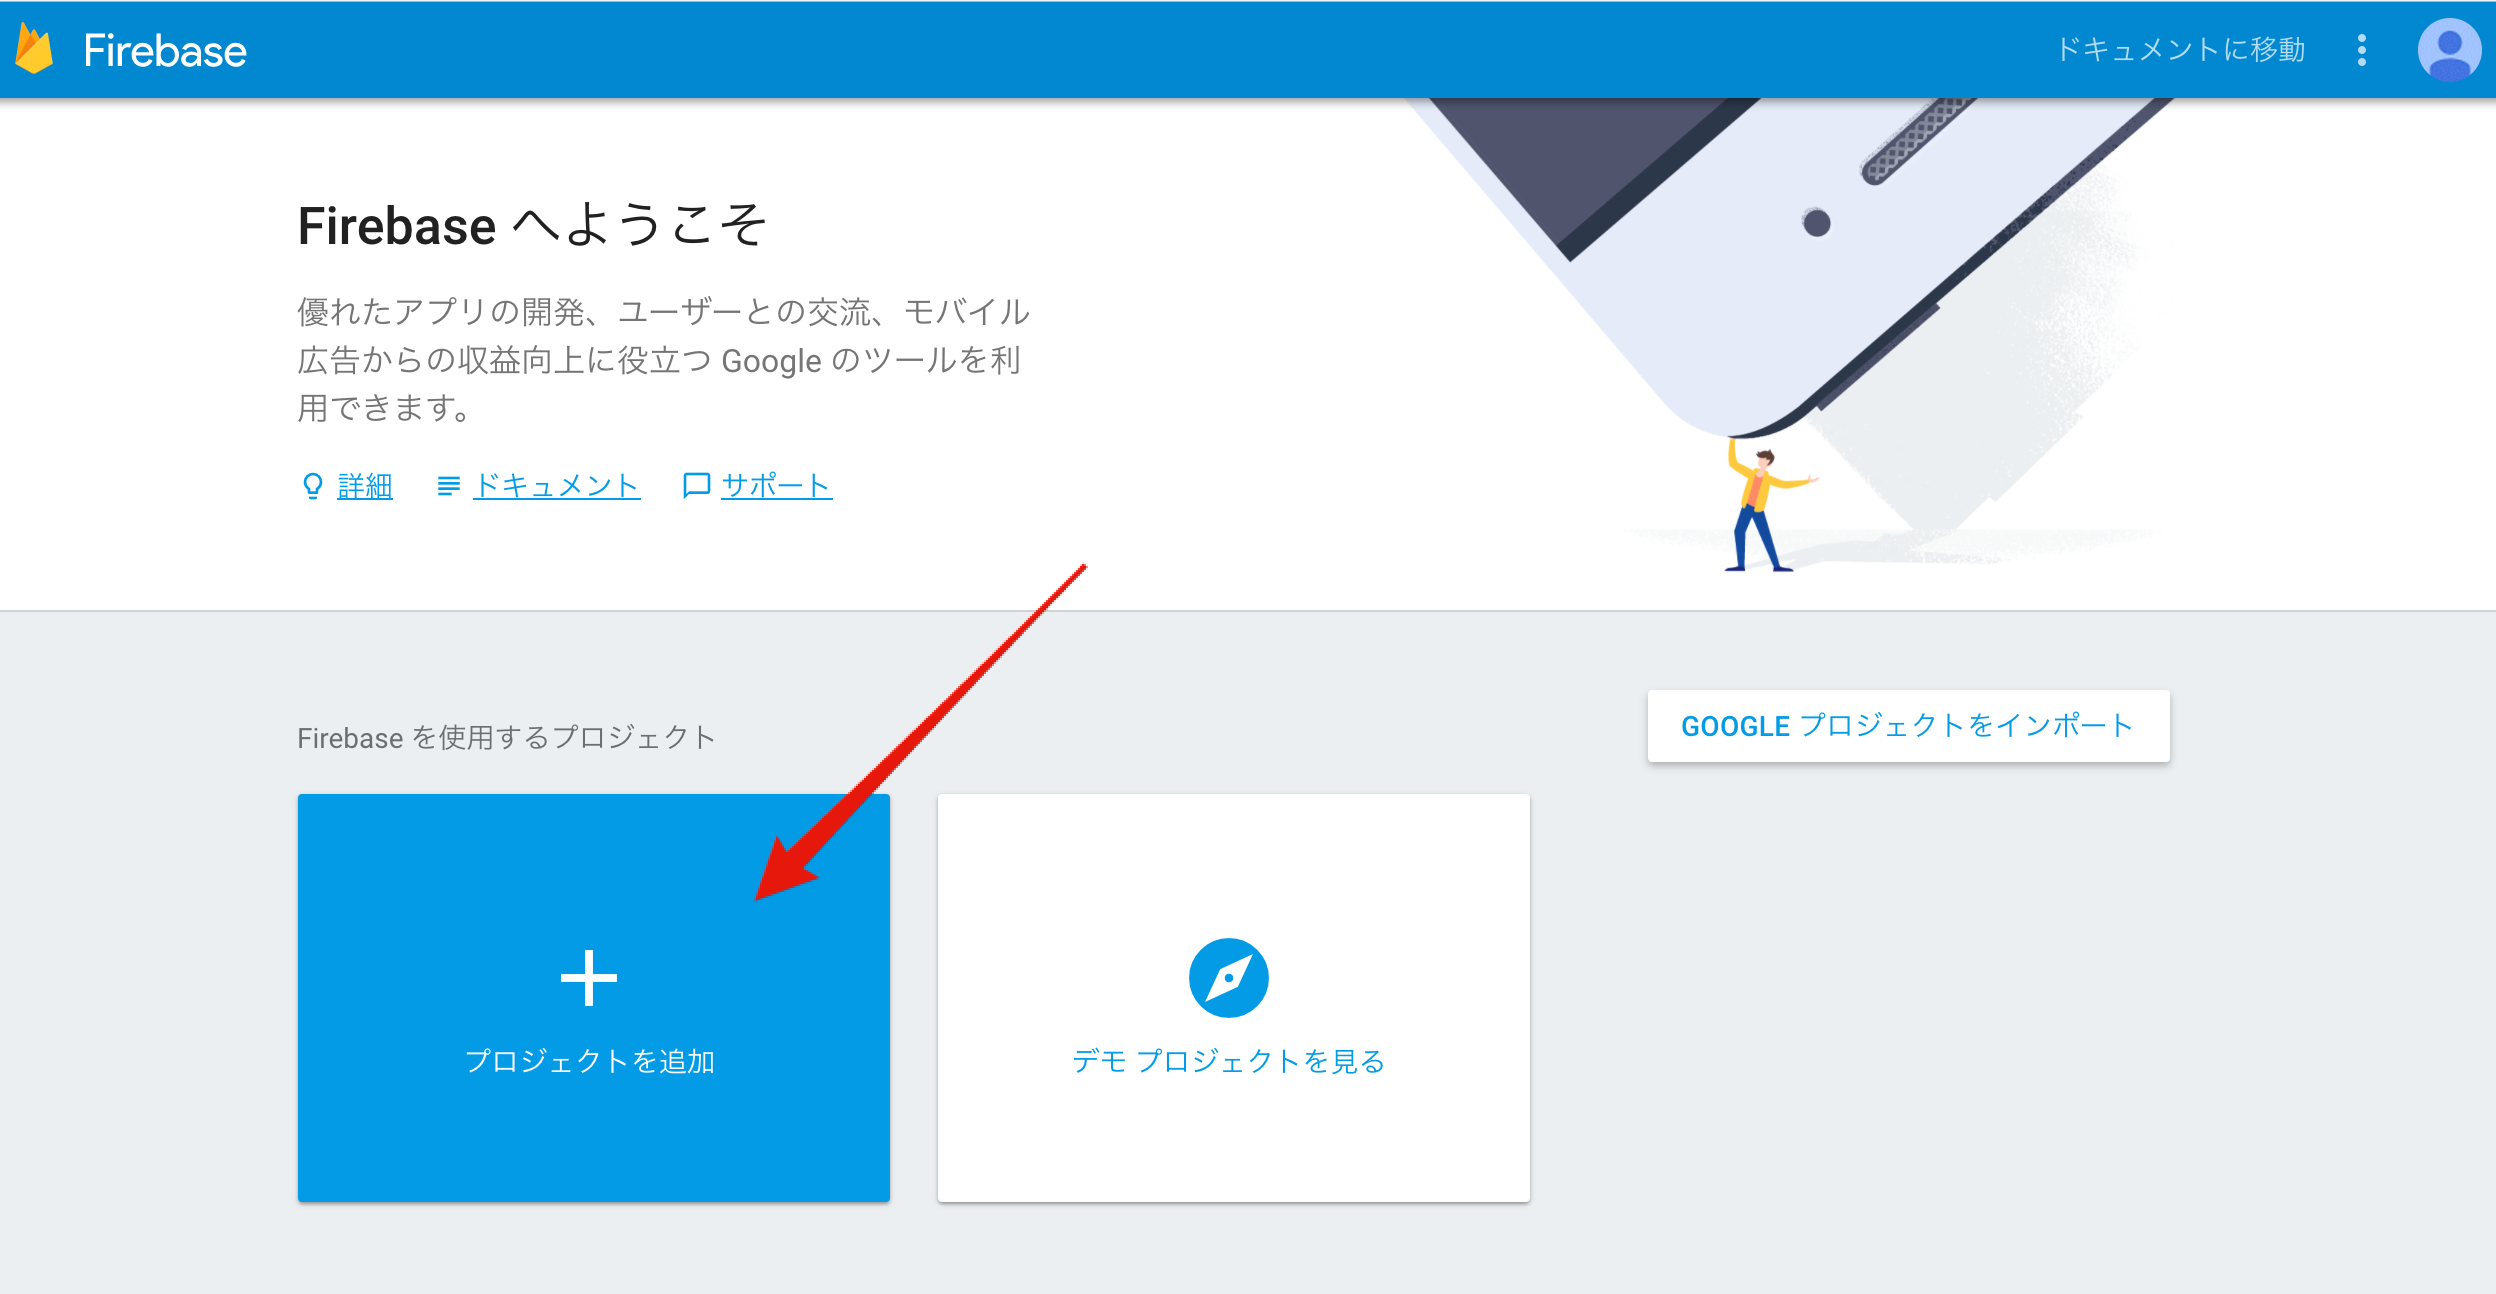 プロジェクトを追加を選択します。
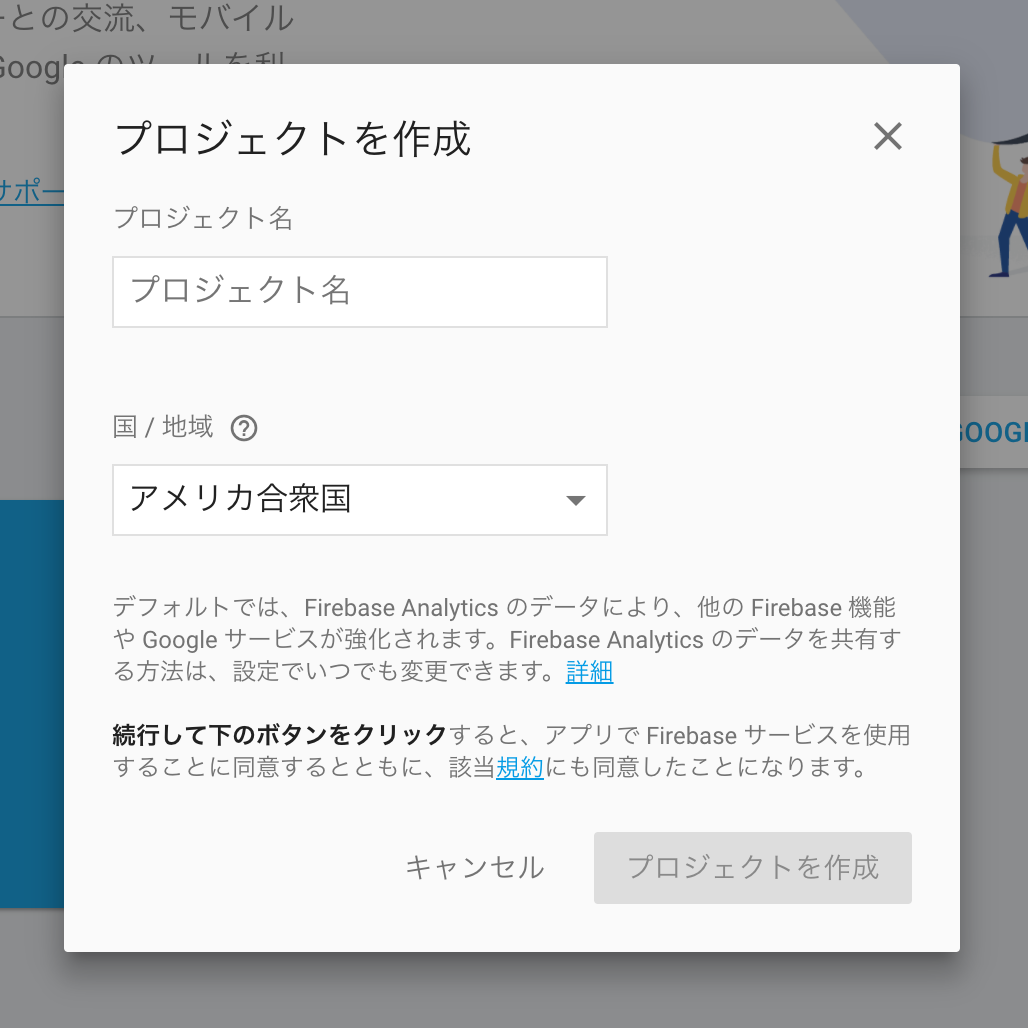 プロジェクト名を入力して国を選択します。
入力と選択が完了したらプロジェクトを作成をクリックします。 僕は今回 「Nimoji」という名前にしました 🙂
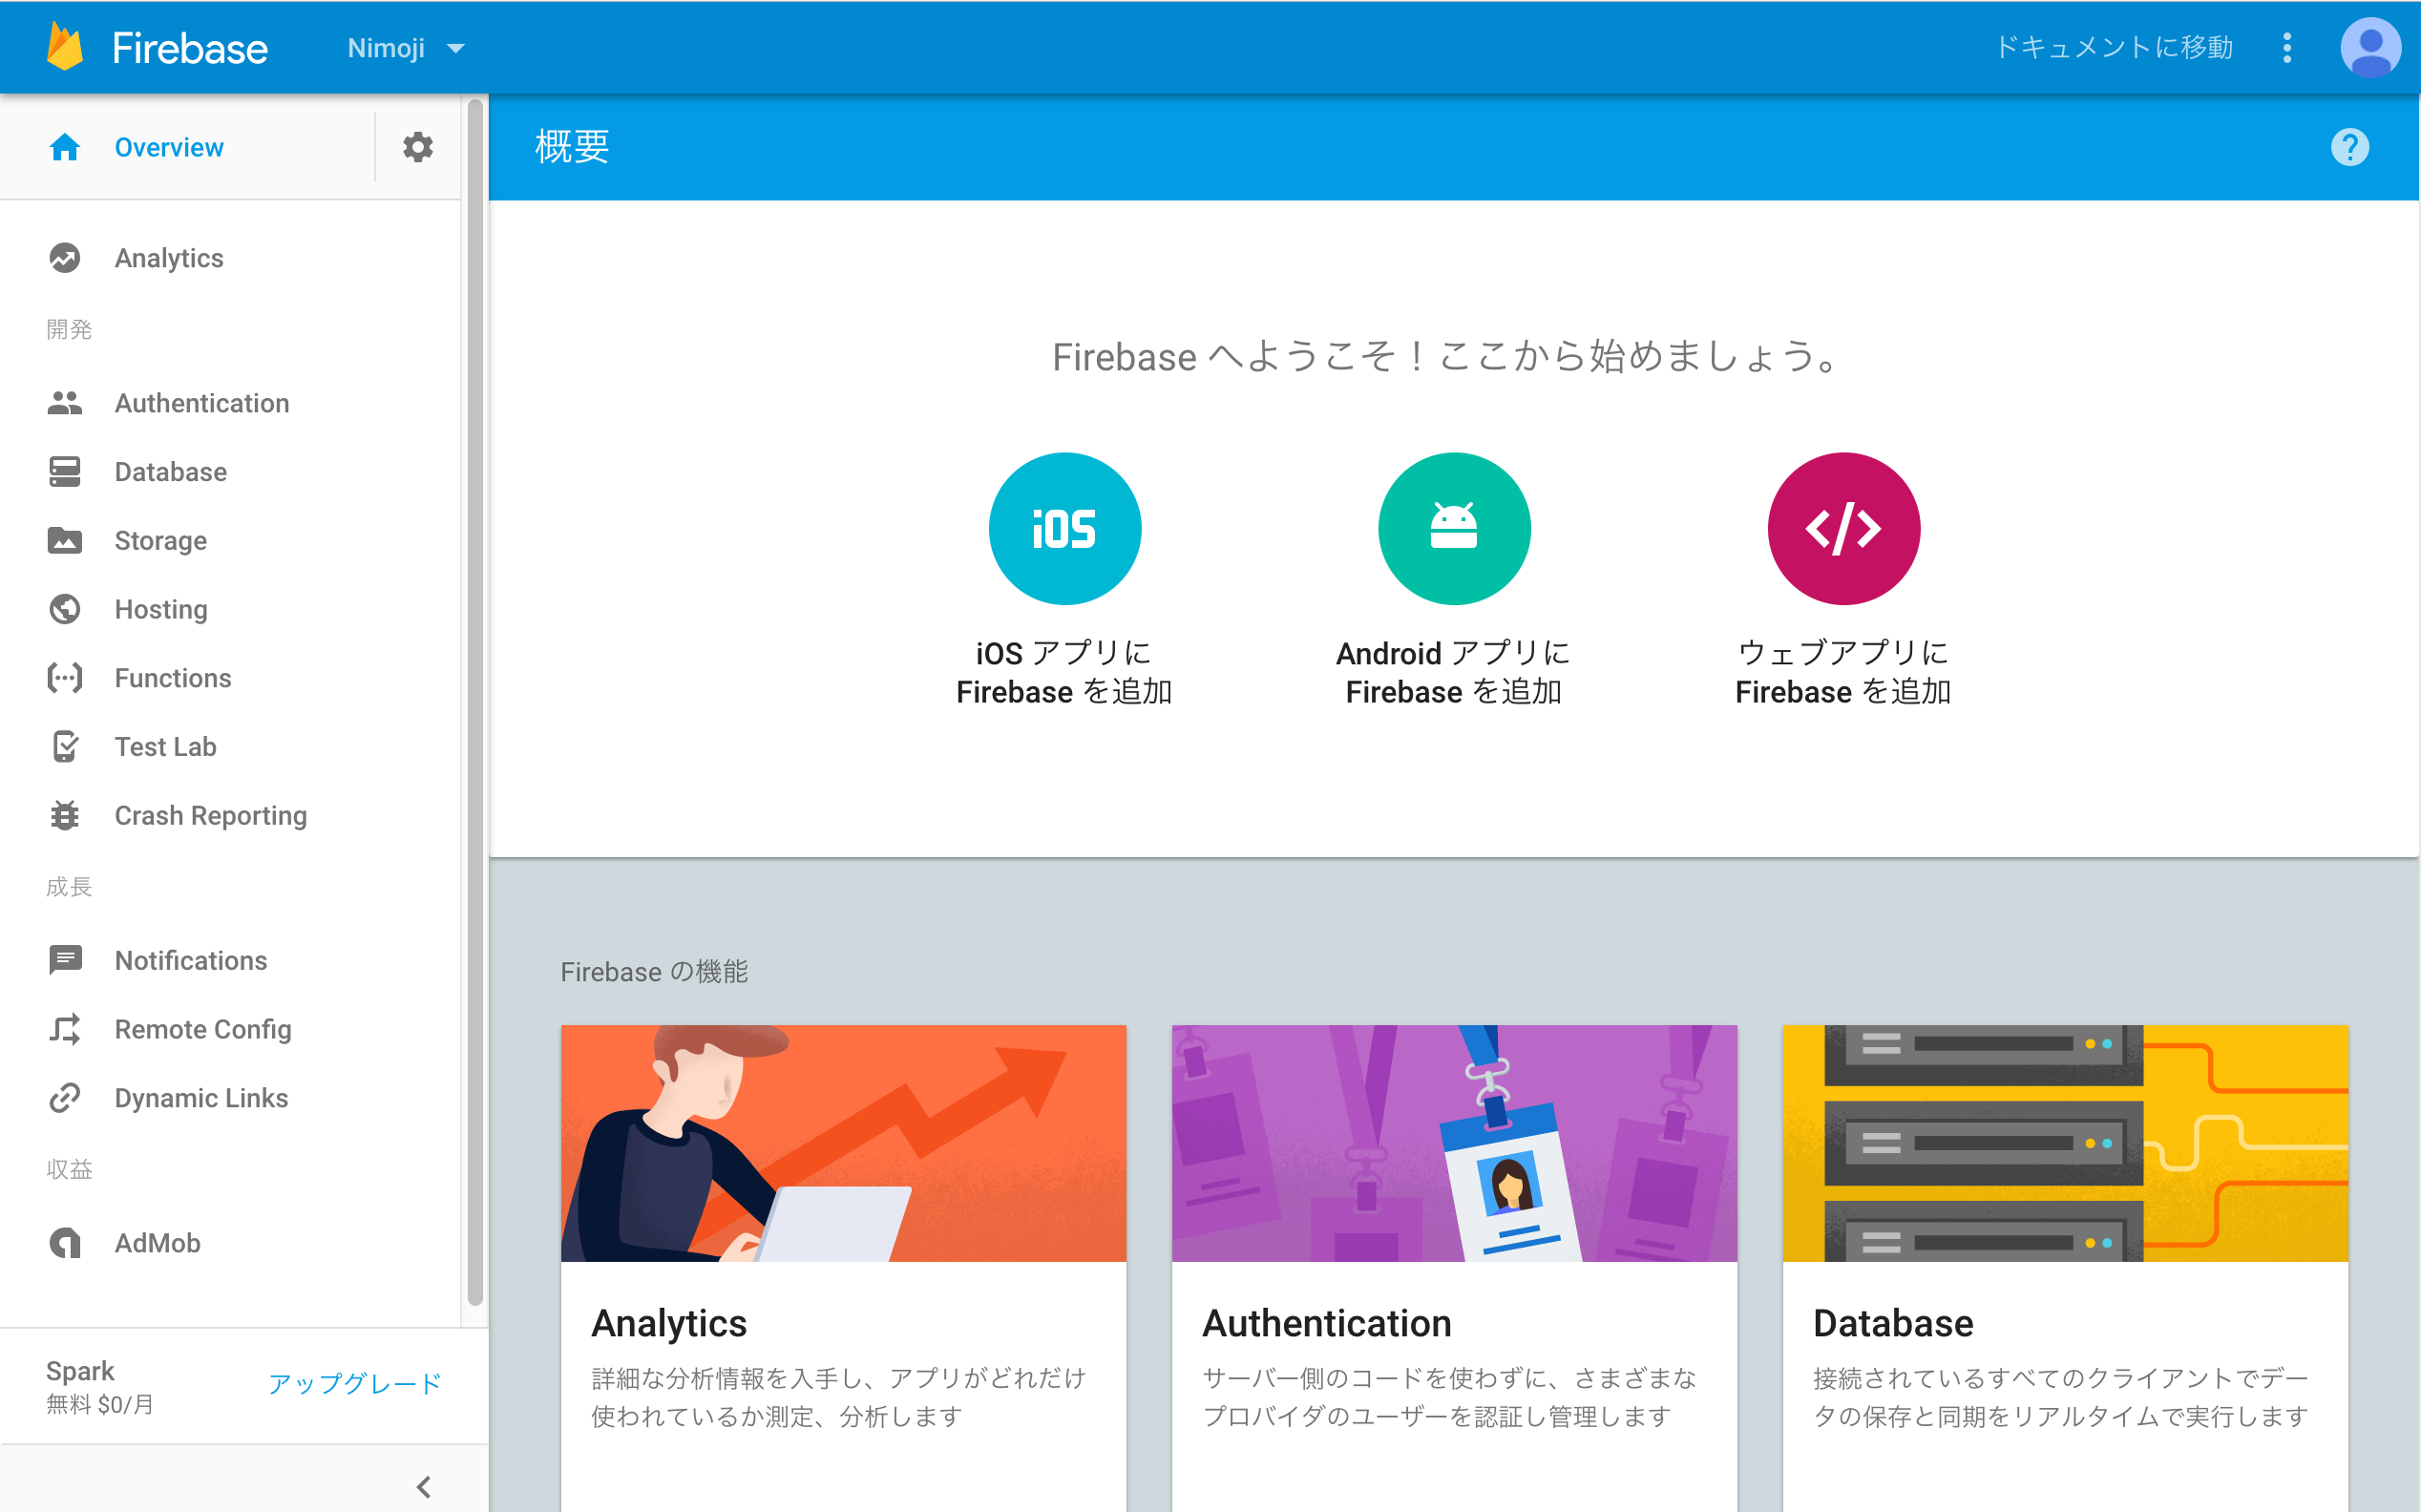 プロジェクトの作成が完了すると↑のような画面が表示されます。こちらがプロジェクトの管理画面になります。
iOSにFirebaseを組み込む
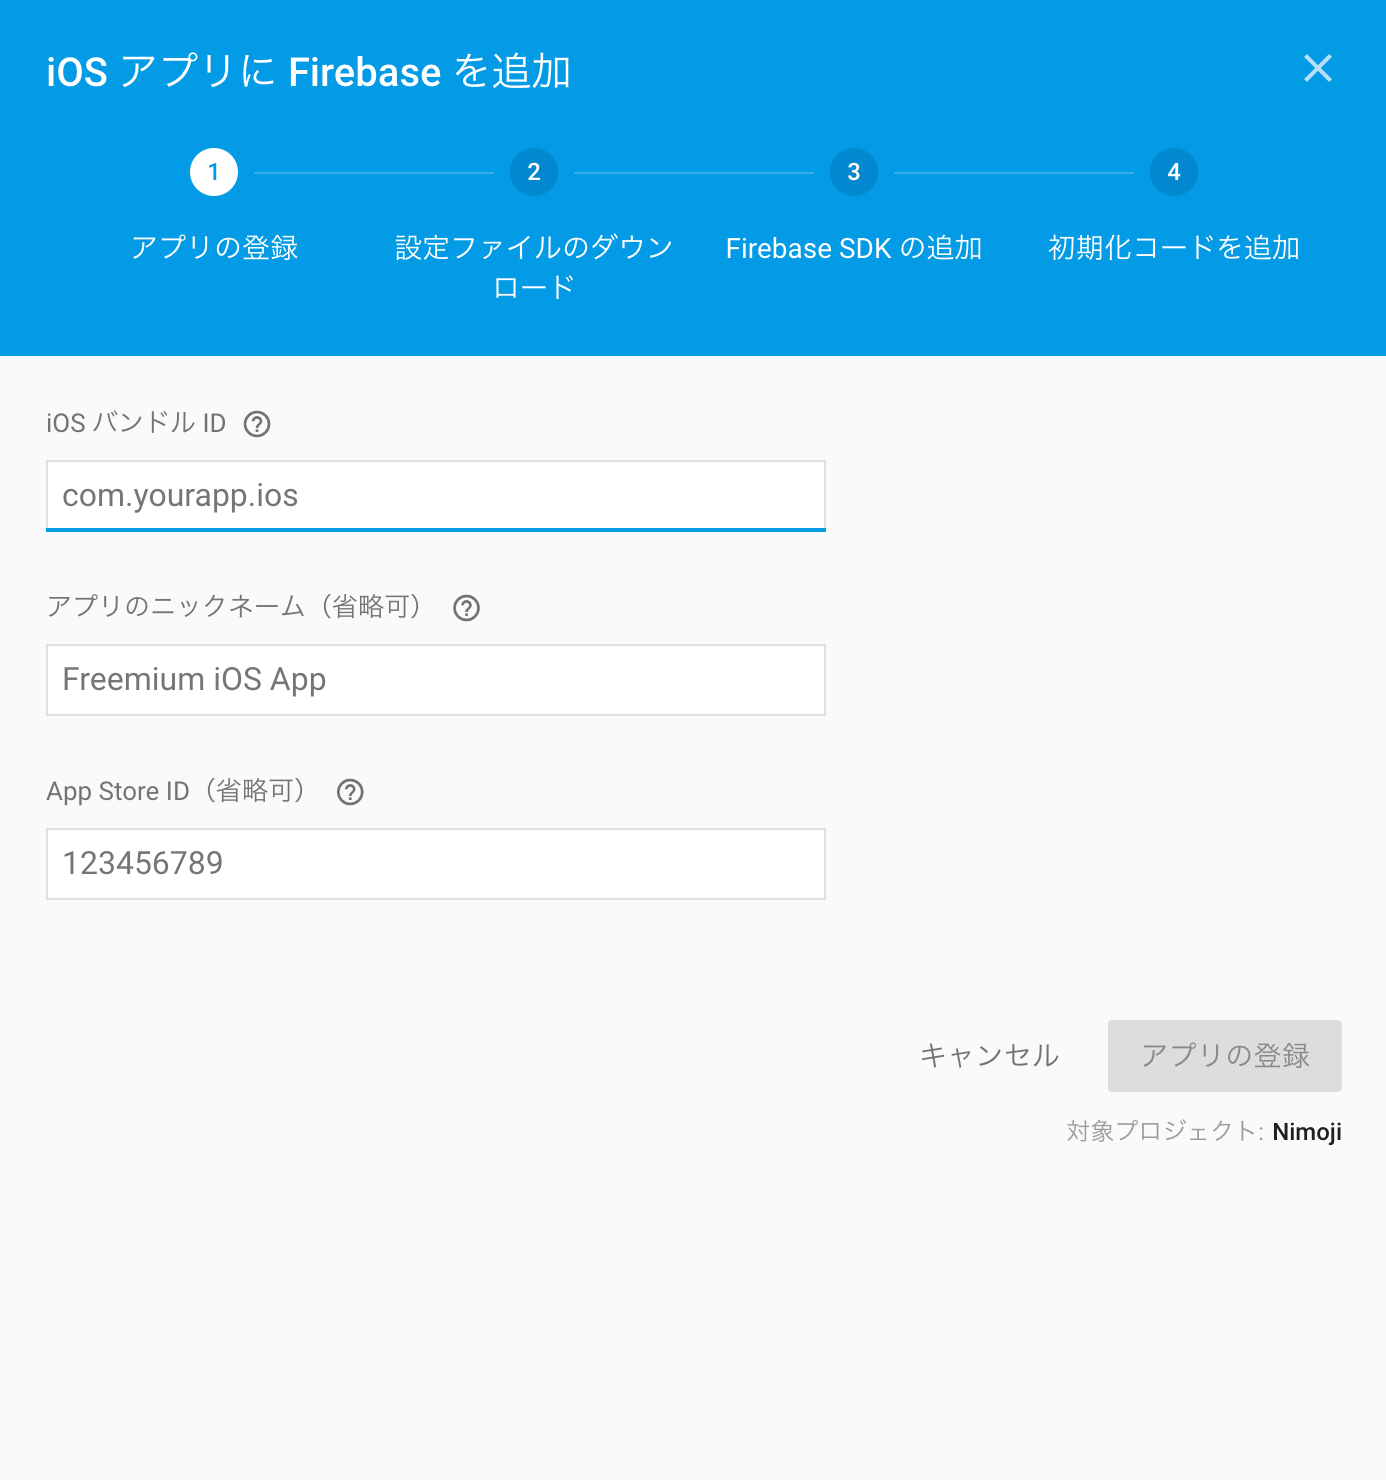 iOSアプリにFirebaseを追加をクリックします。 xcodeでiOSプロジェクトを作成しbundle identifierを入力します。 bundle identifierは下の画像のところから参照できます。
 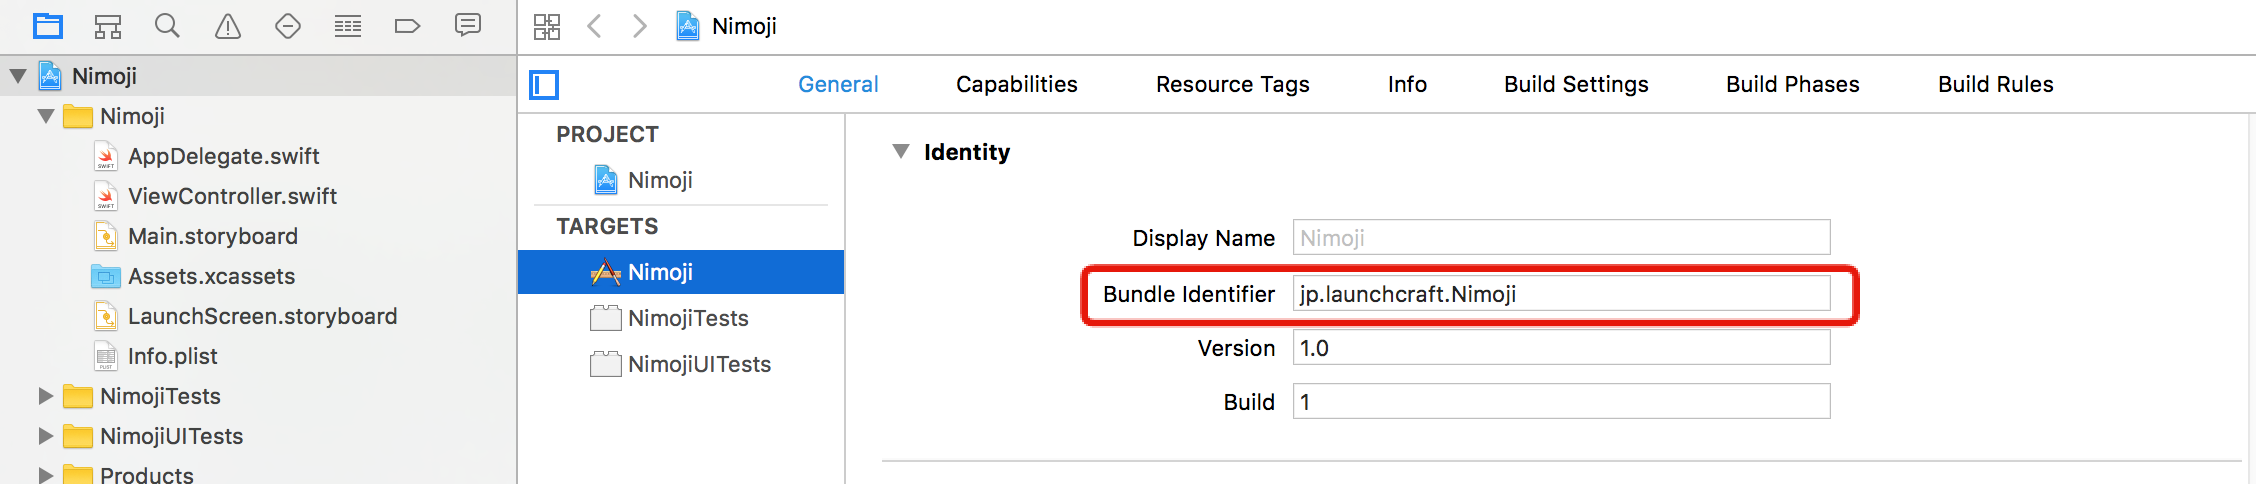 入力が完了したらアプリの登録をクリックします。
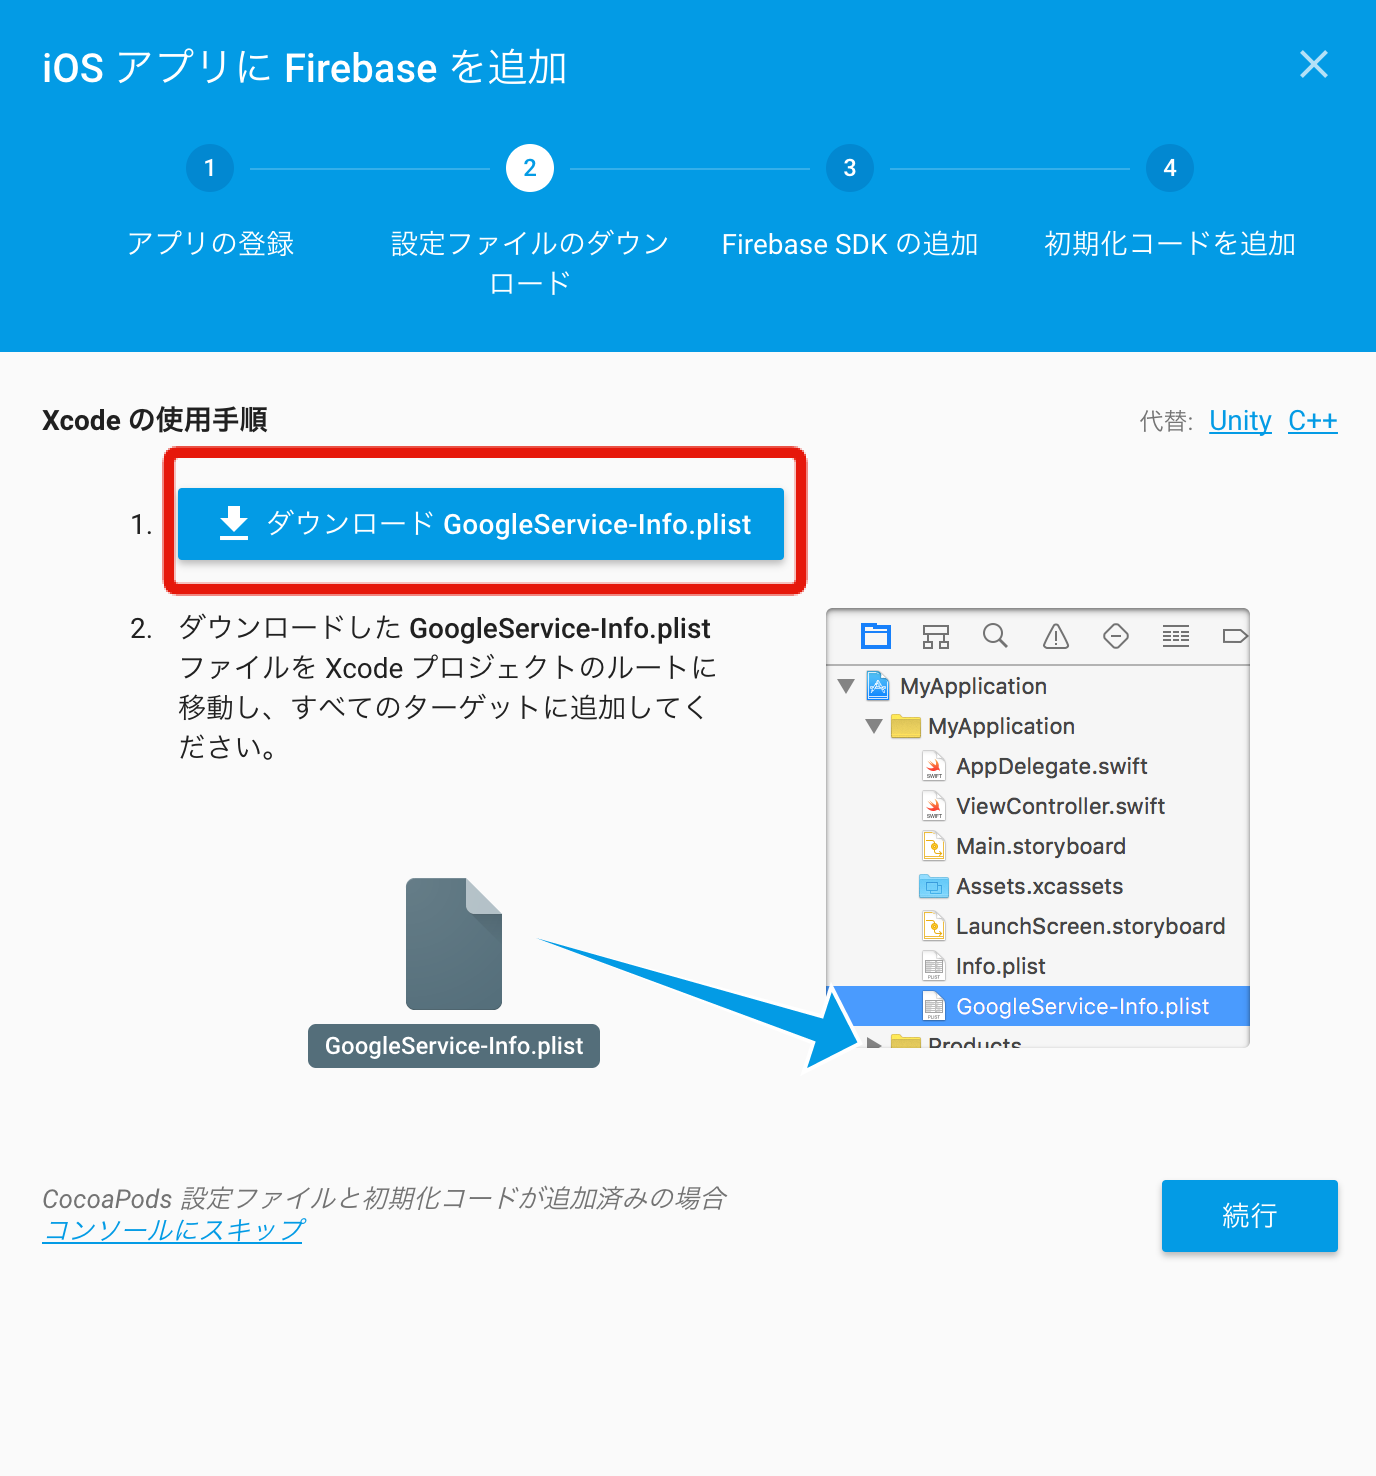 GoogleService-Info.plistをダウンロードします。
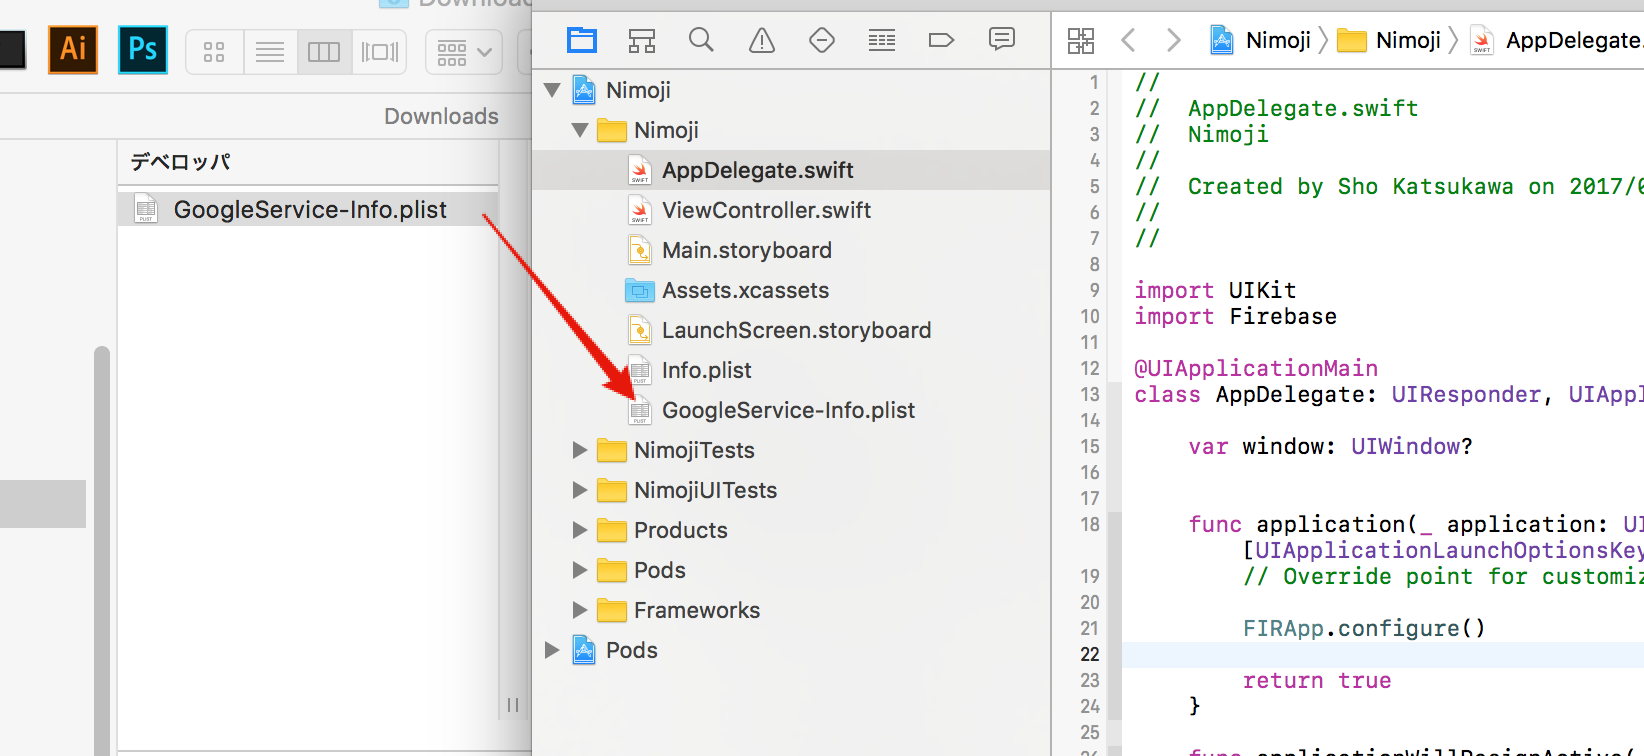 GoogleService-Info.plistをドラッグ・アンド・ドロップでxcodeに追加します。
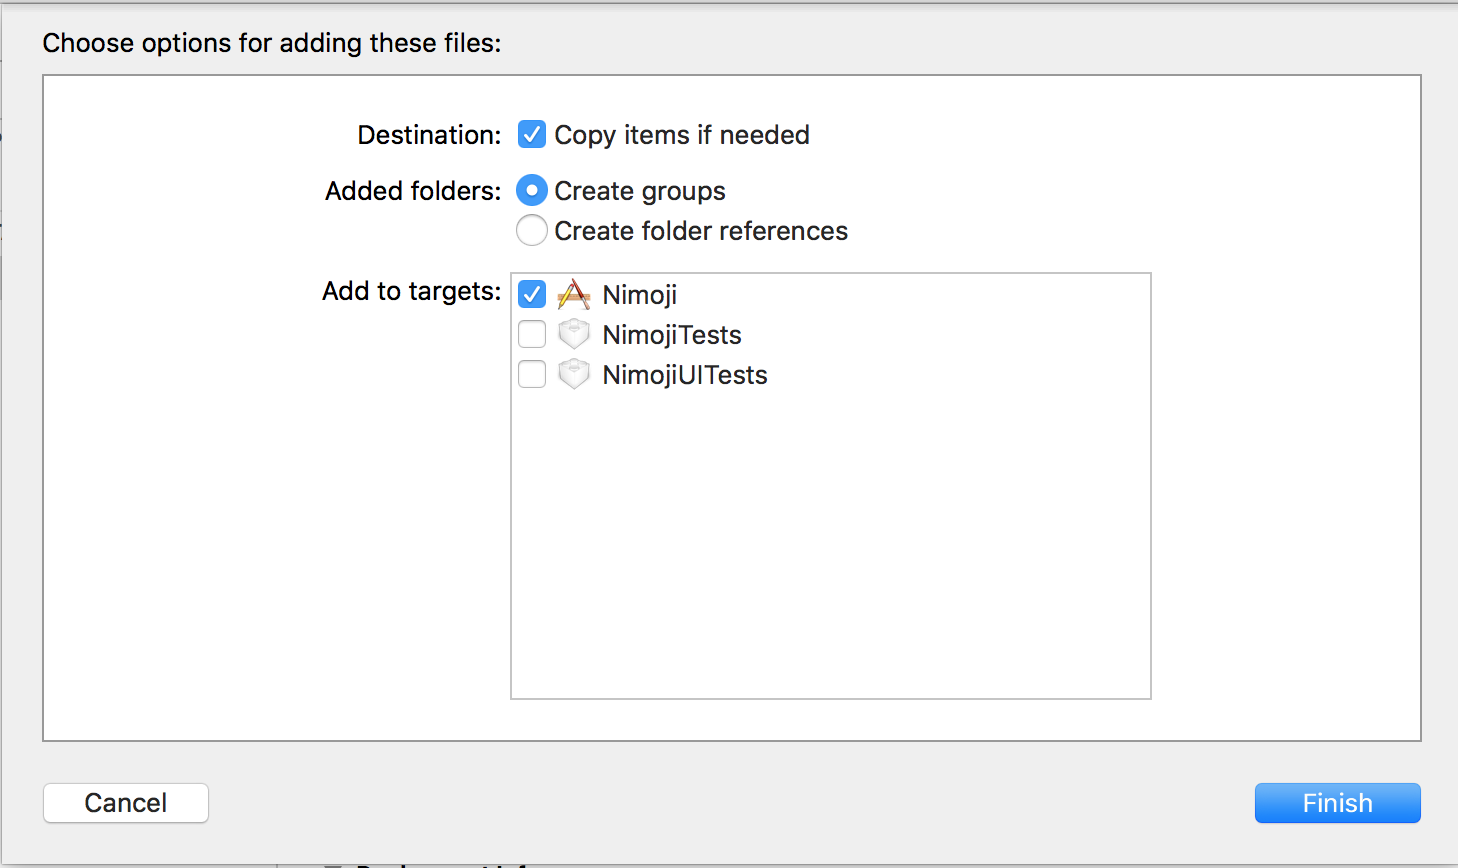 Copy items if neededにチェックを入れます。
  podでFirebaseをインストールします。
 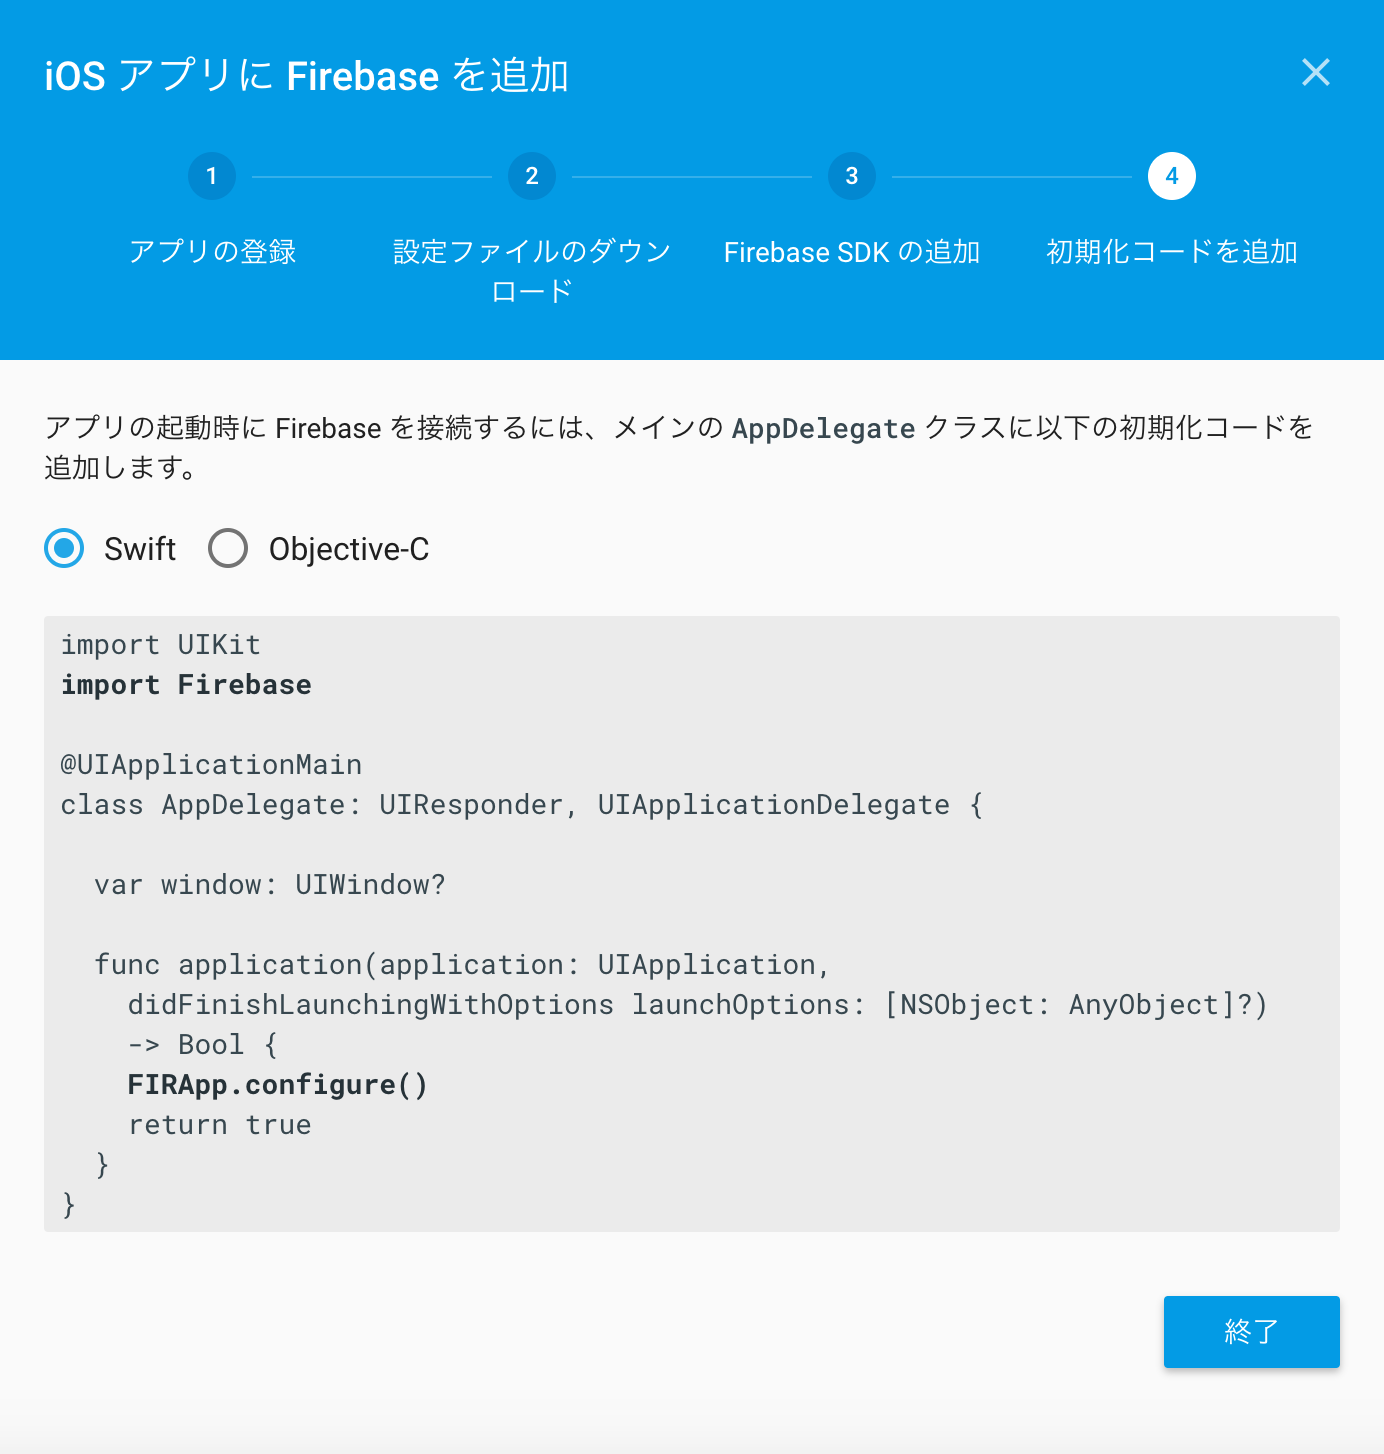 インストールが終わりましたらAppDelegateに記述をします。 これでiOSへの導入は完了です。
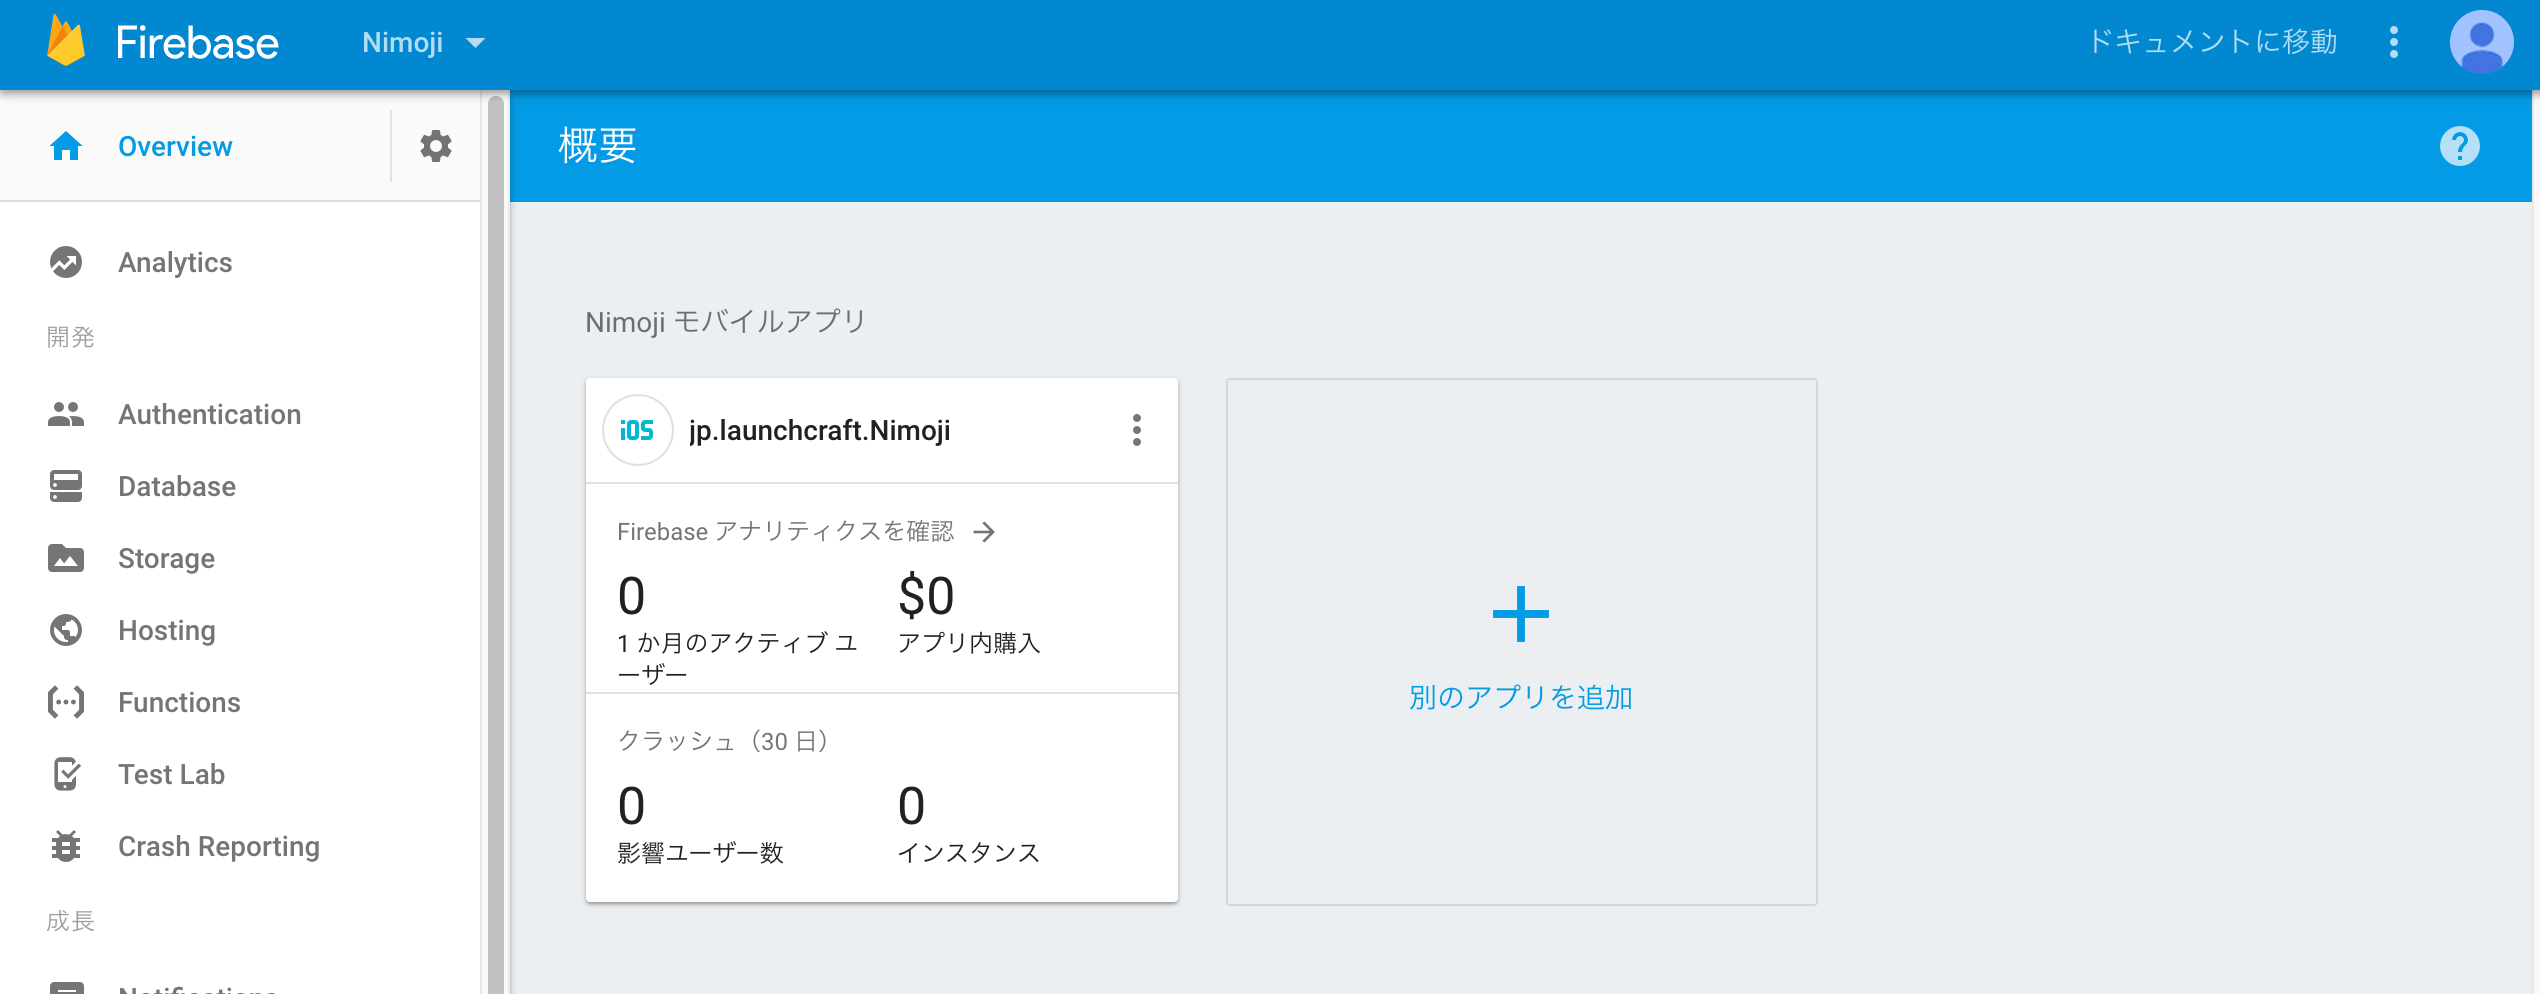 導入が完了するとこのような画面になっていると思います。
ユーザー登録
ユーザー登録の処理を実装していきます。Firebaseを使うと簡単にできます。
Firebaseの管理画面でメールアドレスとパスワードでの認証を許可します
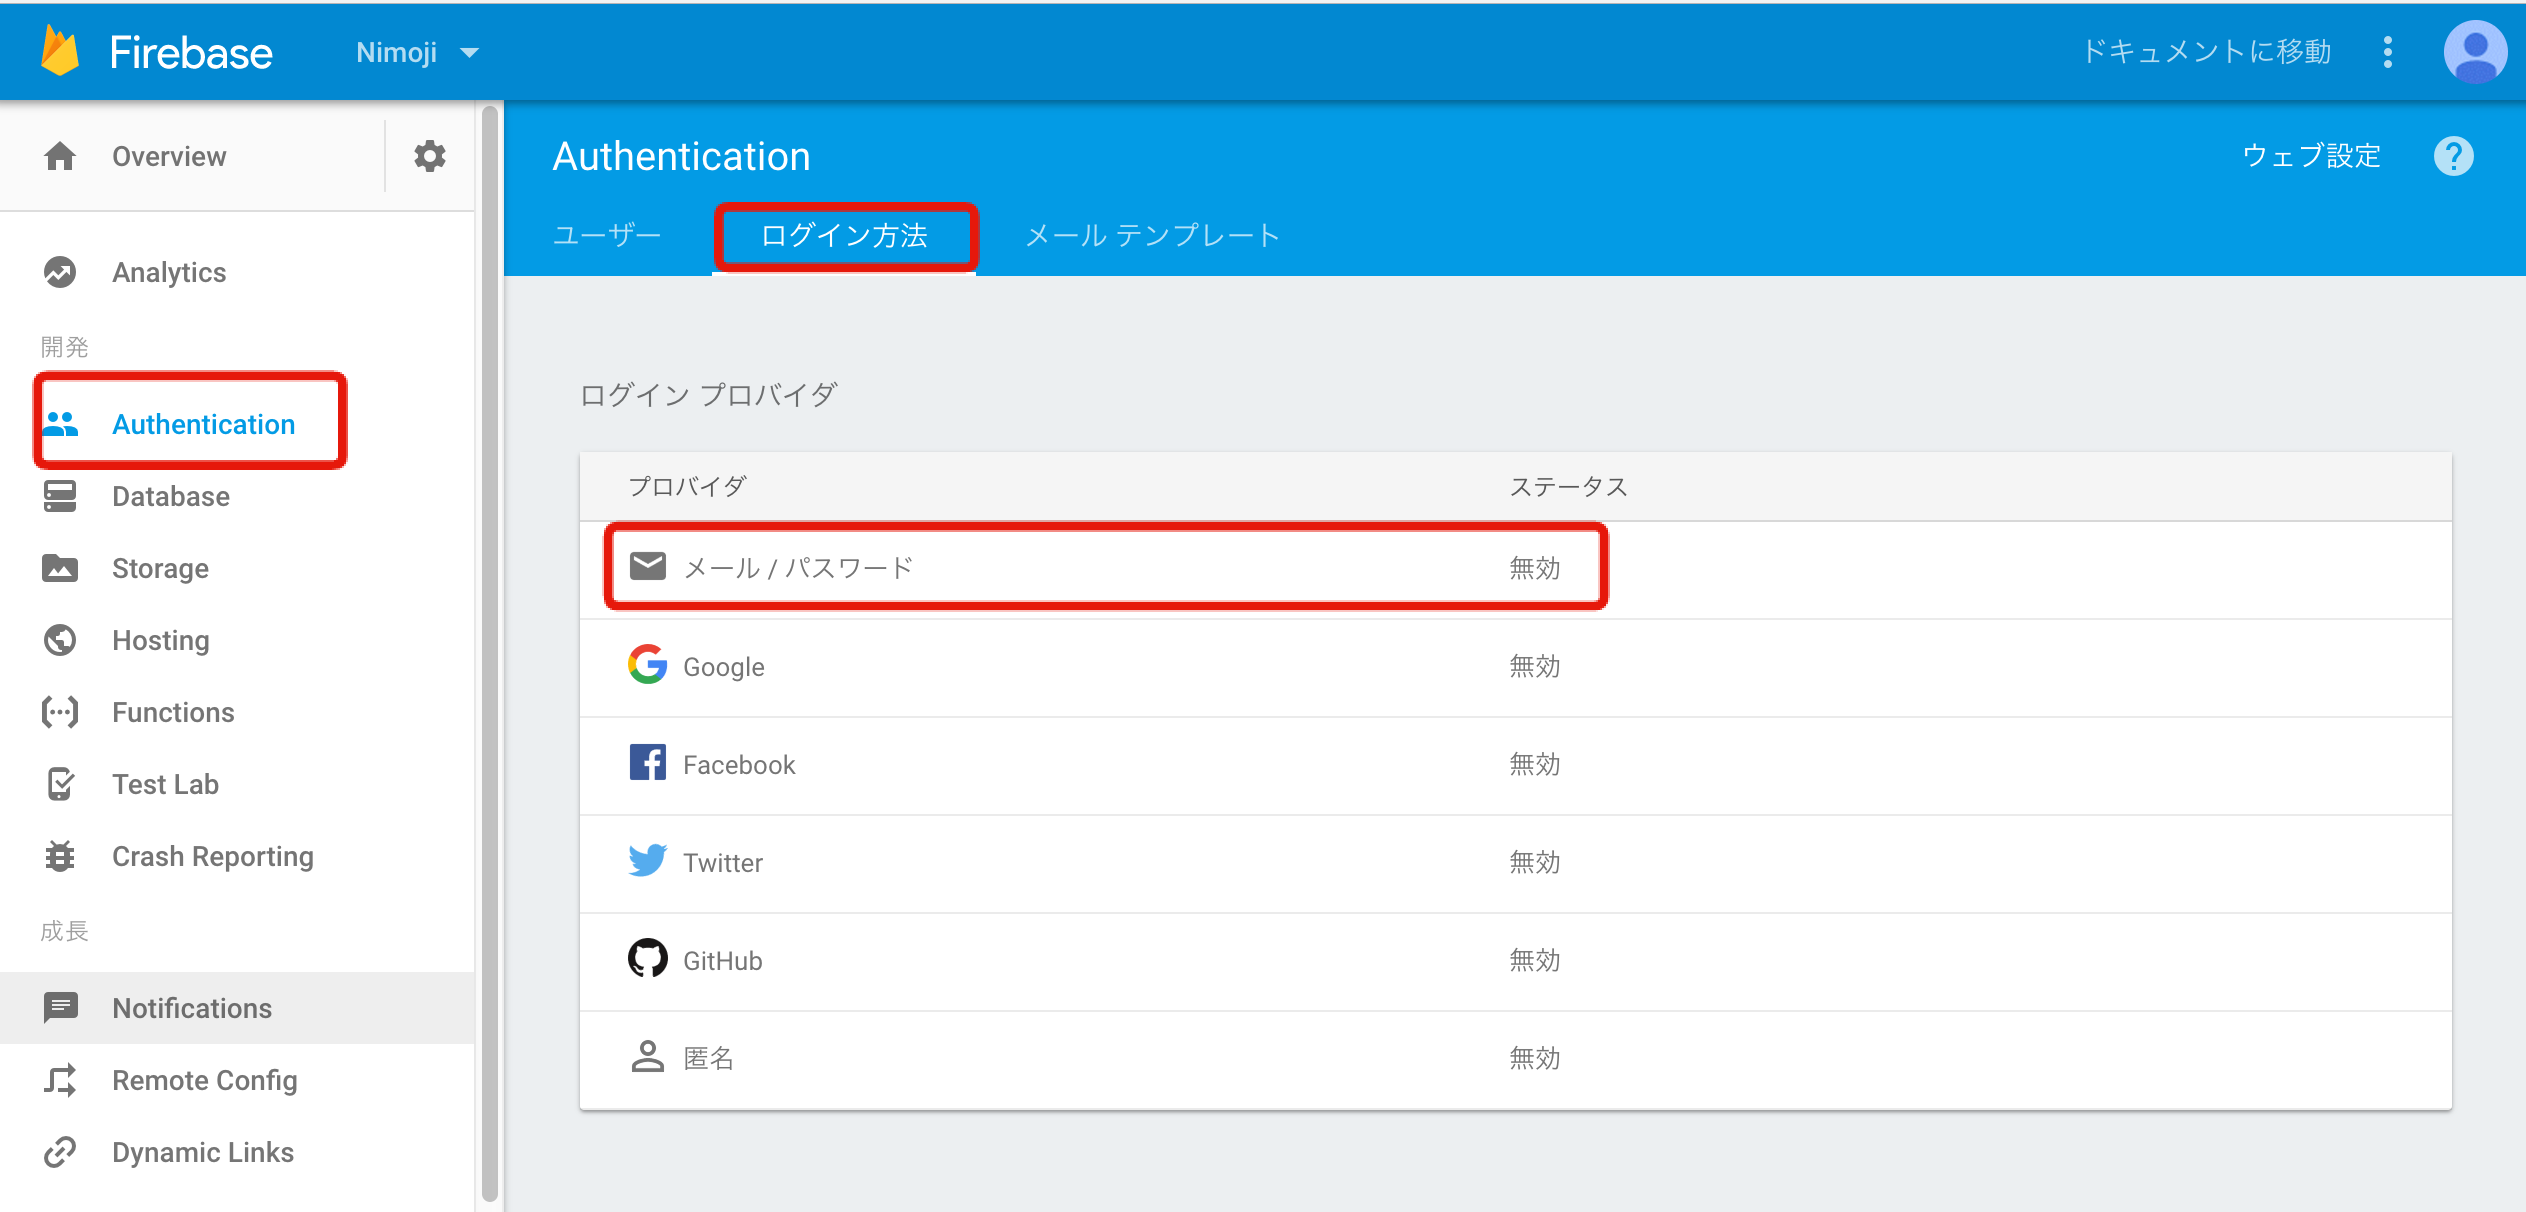 Authentication > メールアドレス > ログイン方法と進み、メール/パスワードをクリックします。
 有効にして保存します
これでEmail/passwordでユーザー登録とログインすることができます。
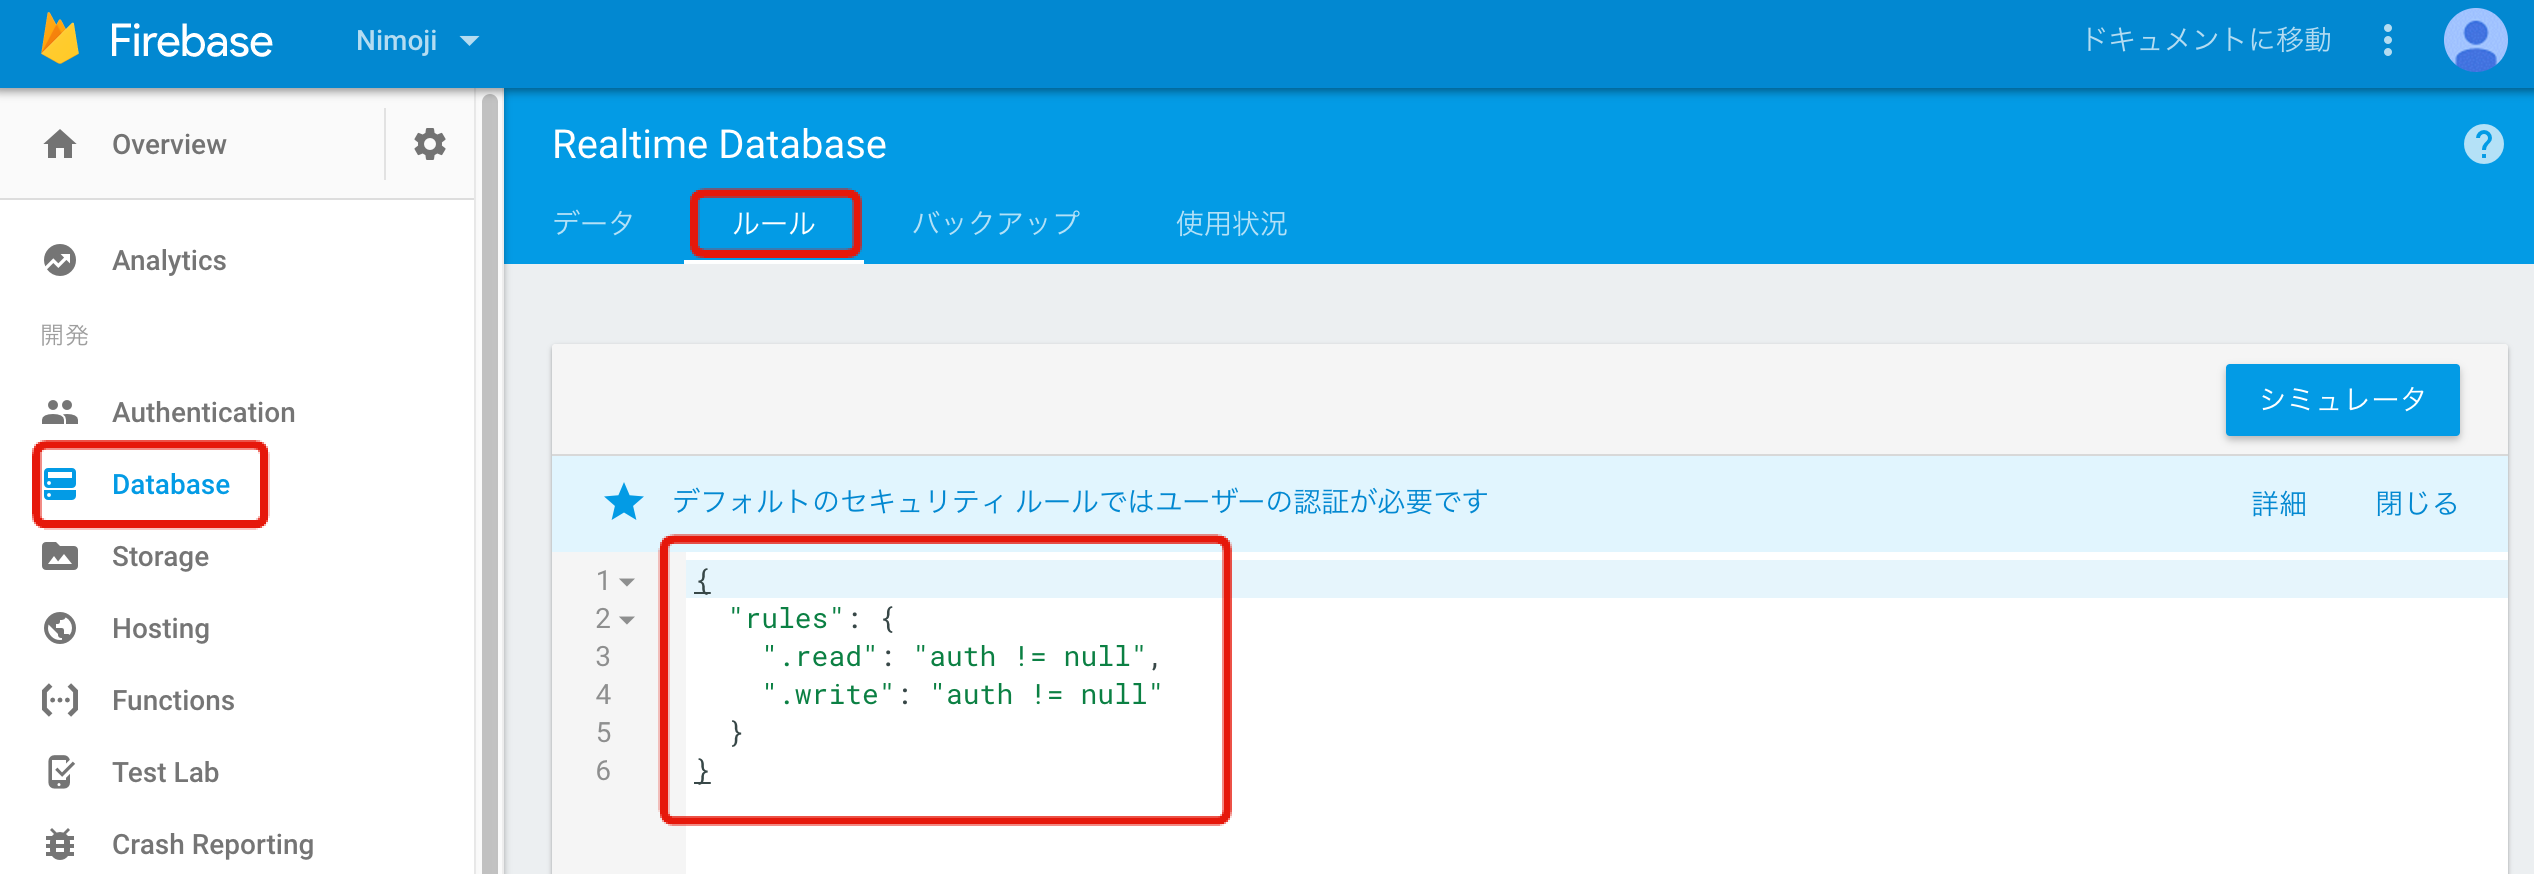 Databaseのセキュリティが下記のコードのようになっているか確認しましょう。 もし、”.read”: true, “.write”: true, になっていたら誰でもデータベースの読み込みと書き込みができてしまいますので変更しましょう。
{
    "rules": {
        ".read": "auth != null",
        ".write": "auth != null"
    }
}
iOS側の実装
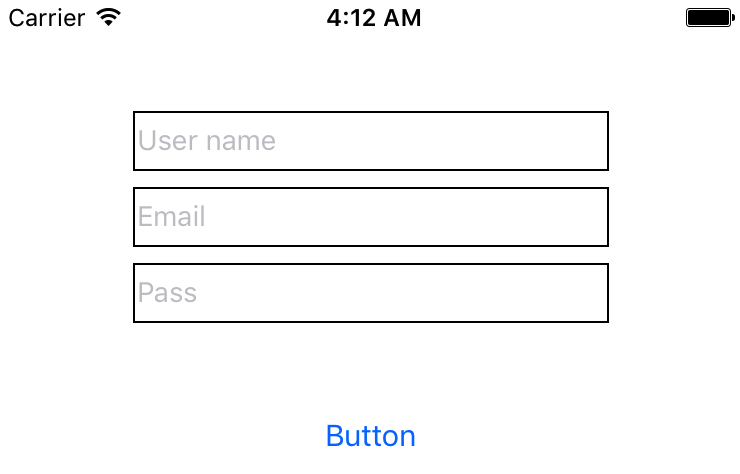 画面はこんな感じです。
‘Firebase/Auth’をpodでインストールします。 ついでに’Firebase/Database’と’SVProgressHUD’もインストールしておきます。
target 'Nimoji' do
  # Comment the next line if you're not using Swift and don't want to use dynamic frameworks
  use_frameworks!

  # Pods for Nimoji
  pod 'Firebase/Core'
  pod 'Firebase/Auth'
  pod 'Firebase/Database'
  pod 'SVProgressHUD'

  target 'NimojiTests' do
    inherit! :search_paths
    # Pods for testing
  end

  target 'NimojiUITests' do
    inherit! :search_paths
    # Pods for testing
  end
end
ユーザーの作成は FIRAuth.auth()?.createUser で行います。以下のようなコードになるでしょうか。
ユーザーを作成した後にdisplayname(username)を変更しています。
import UIKit
import Firebase
import FirebaseAuth
import SVProgressHUD

class SignupViewController: UIViewController {
    @IBOutlet weak var usernameTextField: UITextField!
    @IBOutlet weak var emailTextField: UITextField!
    @IBOutlet weak var passTextField: UITextField!

    override func viewDidLoad() {
        super.viewDidLoad()

        // Do any additional setup after loading the view.
        usernameTextField.layer.borderWidth = 2
        emailTextField.layer.borderWidth = 2
        passTextField.layer.borderWidth = 2
    }

    override func didReceiveMemoryWarning() {
        super.didReceiveMemoryWarning()
        // Dispose of any resources that can be recreated.
    }


    @IBAction func pushSignupButton(_ sender: Any) {
        if let username = usernameTextField.text,
           let email = emailTextField.text,
           let password = passTextField.text {
            if username.characters.isEmpty {
                SVProgressHUD.showError(withStatus: "Oops!")
                usernameTextField.layer.borderColor = UIColor.red.cgColor
                return
            }
            if email.characters.isEmpty {
                SVProgressHUD.showError(withStatus: "Oops!")
                emailTextField.layer.borderColor = UIColor.red.cgColor
                return
            }
            if password.characters.isEmpty {
                SVProgressHUD.showError(withStatus: "Oops!")
                passTextField.layer.borderColor = UIColor.red.cgColor
                return
            }
            usernameTextField.layer.borderColor = UIColor.black.cgColor
            emailTextField.layer.borderColor = UIColor.black.cgColor
            passTextField.layer.borderColor = UIColor.black.cgColor

            SVProgressHUD.show()

            // ユーザー作成
            FIRAuth.auth()?.createUser(withEmail: email, password: password) { user, error in
                if let error = error {
                    print(error)
                    SVProgressHUD.showError(withStatus: "Error!")
                    return
                }
                // ユーザーネームを設定
                let user = FIRAuth.auth()?.currentUser
                if let user = user {
                    let changeRequest = user.profileChangeRequest()
                    changeRequest.displayName = username
                    changeRequest.commitChanges { error in
                        if let error = error {
                            print(error)
                            SVProgressHUD.showError(withStatus: "Error!")
                            return
                        }
                        SVProgressHUD.showSuccess(withStatus: "Success!")

                        let when = DispatchTime.now() + 2
                        DispatchQueue.main.asyncAfter(deadline: when) {
                            self.present((self.storyboard?.instantiateViewController(withIdentifier: "FriendsViewController"))!,
                                         animated: true,
                                         completion: nil)
                        }
                    }
                } else {
                    print("Error - User not found")
                }
                SVProgressHUD.dismiss()
            }
        }
    }
    @IBAction func pushCloseButton(_ sender: Any) {
        self.dismiss(animated: true, completion: nil)
    }
}
では実際に試してみます。

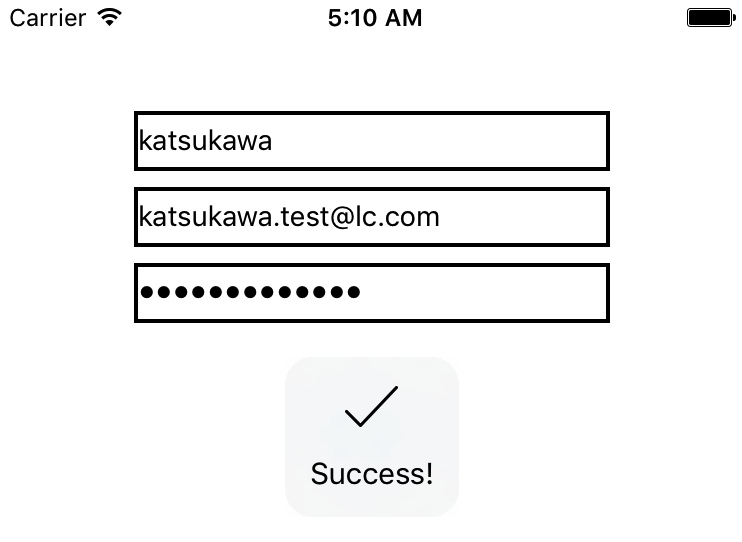 成功したようです 🙂
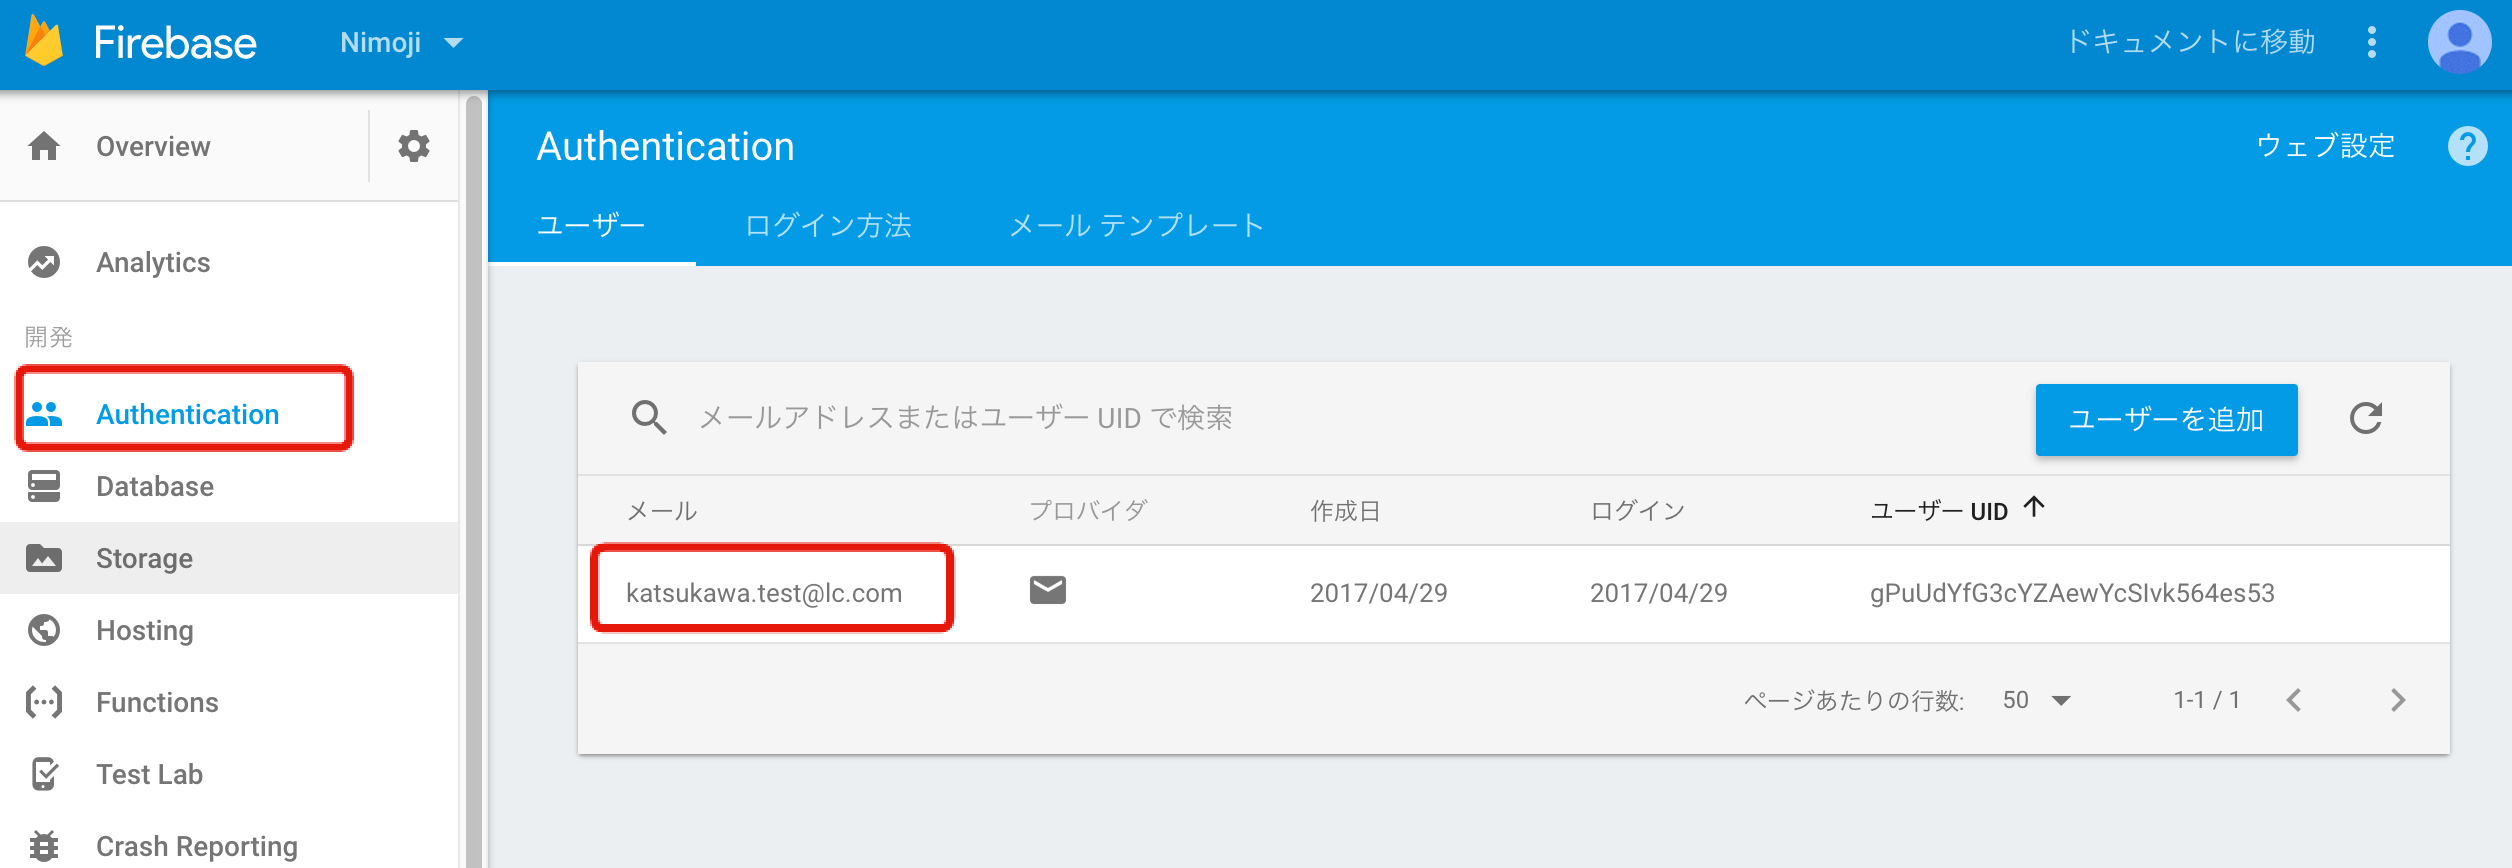 Firebaseのコンソールにも追加されています。
これでユーザー登録の処理は完成です。簡単ですね 😉
ユーザーログイン
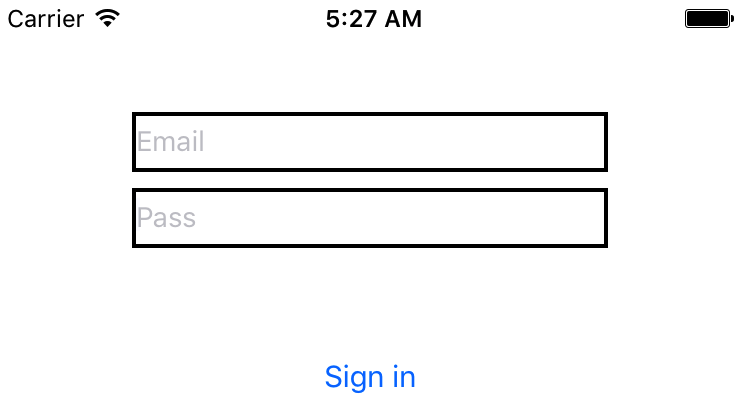
では、次にログインの処理です。画面はこんな感じです。
 FIRAuth.auth()?.signInでログインします。
import UIKit
import Firebase
import FirebaseAuth
import SVProgressHUD

class SigninViewController: UIViewController {
    @IBOutlet weak var emailTextField: UITextField!
    @IBOutlet weak var passTextField: UITextField!

    override func viewDidLoad() {
        super.viewDidLoad()

        emailTextField.layer.borderWidth = 2
        passTextField.layer.borderWidth = 2
    }

    override func didReceiveMemoryWarning() {
        super.didReceiveMemoryWarning()
        // Dispose of any resources that can be recreated.
    }

    @IBAction func pushSigninButton(_ sender: Any) {
        if let email = emailTextField.text,
           let password = passTextField.text {
            if email.characters.isEmpty {
                SVProgressHUD.showError(withStatus: "Oops!")
                emailTextField.layer.borderColor = UIColor.red.cgColor
                return
            }
            if password.characters.isEmpty {
                SVProgressHUD.showError(withStatus: "Oops!")
                passTextField.layer.borderColor = UIColor.red.cgColor
                return
            }
            emailTextField.layer.borderColor = UIColor.black.cgColor
            passTextField.layer.borderColor = UIColor.black.cgColor

            SVProgressHUD.show()

            // ログイン
            FIRAuth.auth()?.signIn(withEmail: email, password: password) { user, error in
                if let error = error {
                    print(error)
                    SVProgressHUD.showError(withStatus: "Error!")
                    return
                } else {
                    SVProgressHUD.showSuccess(withStatus: "Success!")
                    let when = DispatchTime.now() + 2
                    DispatchQueue.main.asyncAfter(deadline: when) {
                        self.present((self.storyboard?.instantiateViewController(withIdentifier: "FriendsViewController"))!,
                                     animated: true,
                                     completion: nil)
                    }
                }
            }
        }
    }
    @IBAction func pushCloseButton(_ sender: Any) {
        self.dismiss(animated: true, completion: nil)
    }
}
では実際に試してみます。
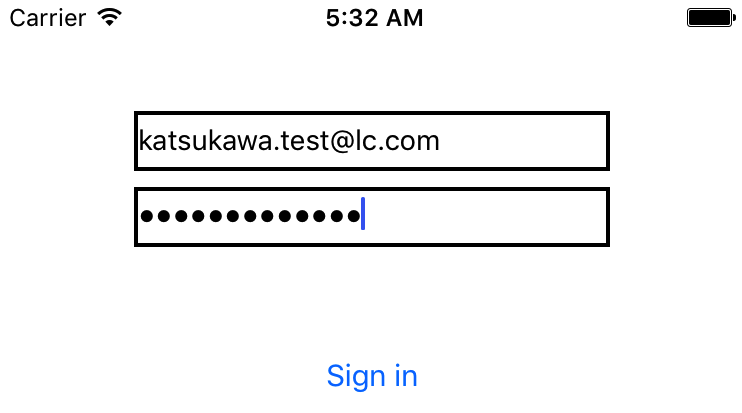
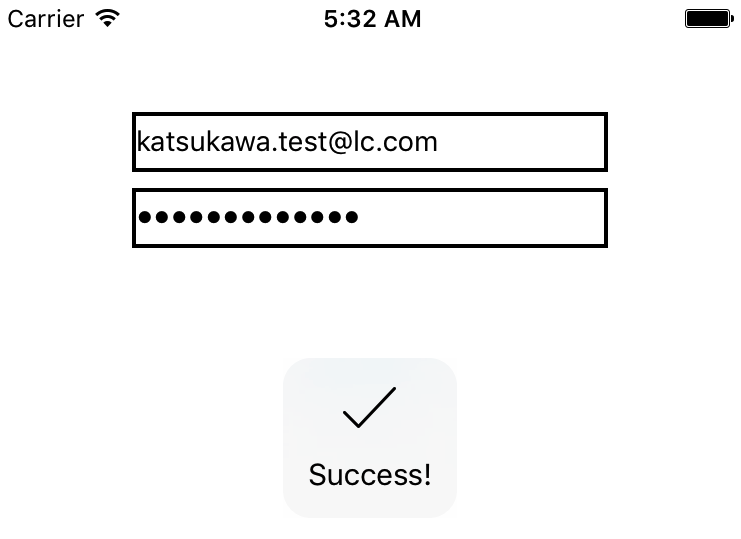 先程登録したメールアドレスとパスワードを入力すると成功するはずです 🙂
ログインしていたらログイン画面を表示させない
ログインしていたらログイン画面を表示させずトップの画面に遷移させます。AppeDelegateに以下のように記述すればログイン状態を確認し任意のViewControllerを表示させる事ができます。
import UIKit
import Firebase
import FirebaseAuth
import SVProgressHUD

@UIApplicationMain
class AppDelegate: UIResponder, UIApplicationDelegate {

    var window: UIWindow?


    func application(_ application: UIApplication, didFinishLaunchingWithOptions launchOptions: [UIApplicationLaunchOptionsKey: Any]?) -> Bool {
        // Override point for customization after application launch.

        FIRApp.configure()

        if let _ = FIRAuth.auth()?.currentUser {
            // ログイン中
            let storyboard:UIStoryboard =  UIStoryboard(name: "Main",bundle:nil)
            window?.rootViewController
                = storyboard.instantiateViewController(withIdentifier: "FriendsViewController")
        }

        return true
    }

~ 省略 ~
ここまでがユーザー登録 / ログインまでの処理です 🙂
メッセージの処理は次回に続きます 🙂
ソースコードはこちらからダウンロードできます。
SHARE THIS POST
LIKE US! :)