こちらの続きです。
ユーザーの登録とログインができたので今回はメッセージの投稿と表示を行います。
このような画面を用意しました。
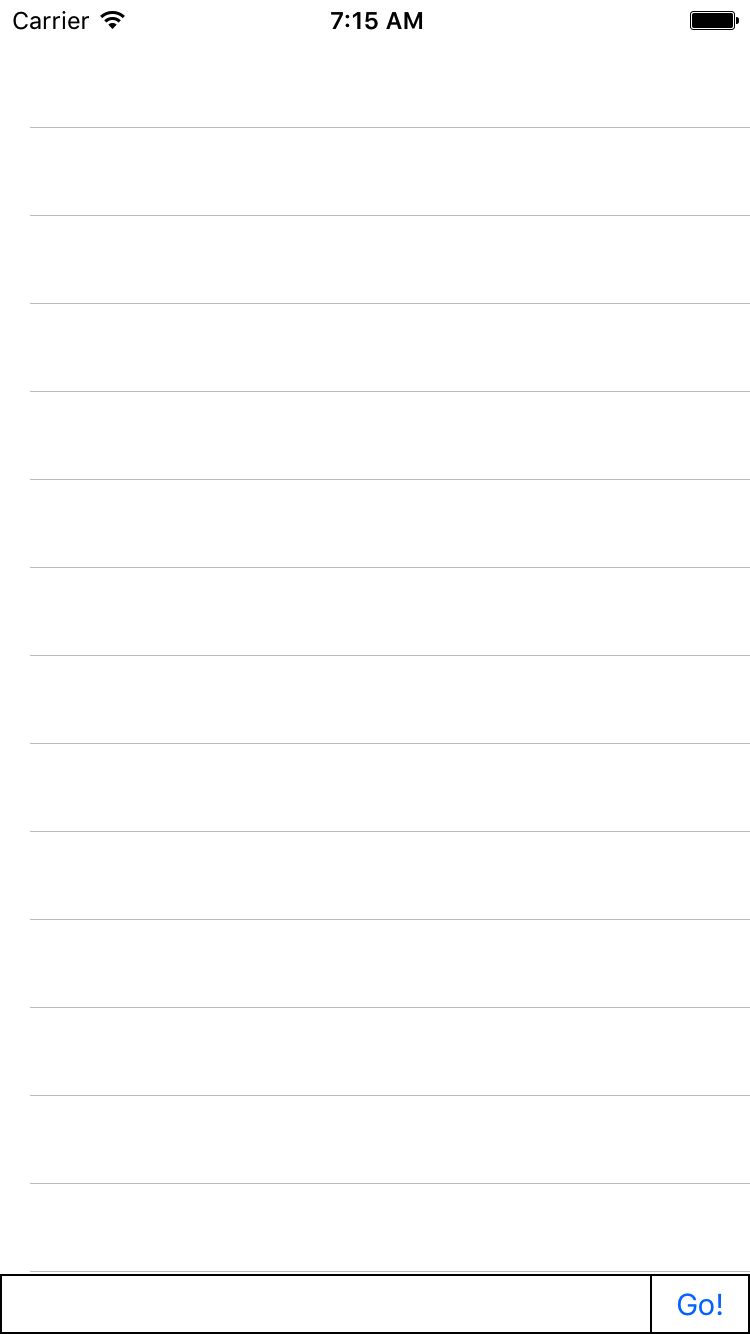
今回はシミュレーターのみで動かすのでキーボードでテキストフィールドが隠れる対応などはしないです。シミュレーターでキーボードが表示される場合は コマンド + k を押して非表示にしてください。
以下全体のコードになります。
import UIKit
import Firebase
import FirebaseAuth
import FirebaseDatabase
import SVProgressHUD

class Const {
    static let MessagePath = "messages"
}

class MessageViewController: UIViewController, UITableViewDelegate, UITableViewDataSource  {
    @IBOutlet weak var tableView: UITableView!
    @IBOutlet weak var formWrapperVIew: UIView!
    @IBOutlet weak var goButton: UIButton!
    @IBOutlet weak var messageTextField: UITextField!

    var messageArray = [Any]()

    override func viewDidLoad() {
        super.viewDidLoad()

        formWrapperVIew.layer.borderWidth = 1
        formWrapperVIew.layer.borderColor = UIColor.black.cgColor
        goButton.layer.borderWidth = 1
        goButton.layer.borderColor = UIColor.black.cgColor


        tableView.delegate = self
        tableView.dataSource = self
        tableView.dequeueReusableCell(withIdentifier: "Cell")

        SVProgressHUD.show()

        if FIRAuth.auth()?.currentUser != nil {
            let postsRef = FIRDatabase.database().reference().child(Const.MessagePath)
            postsRef.observe(.childAdded, with: { snapshot in
                SVProgressHUD.dismiss()
                if let _ = FIRAuth.auth()?.currentUser?.uid {
                    let dictionary = snapshot.value as! [String: AnyObject]
                    self.messageArray.insert(dictionary, at: 0)
                    self.tableView.reloadData()
                }
            })
        }
    }

    override func didReceiveMemoryWarning() {
        super.didReceiveMemoryWarning()
        // Dispose of any resources that can be recreated.
    }

    func tableView(_ tableView: UITableView, numberOfRowsInSection section: Int) -> Int {
        return messageArray.count
    }

    public func tableView(_ tableView: UITableView, cellForRowAt indexPath: IndexPath) -> UITableViewCell {
        let cell = tableView.dequeueReusableCell (
            withIdentifier: "Cell",
            for: indexPath as IndexPath)
        let dictionary = messageArray[indexPath.row] as! [String: AnyObject]

        cell.textLabel?.text = dictionary["message"] as? String

        let time = dictionary["time"] as? String
        let username = dictionary["username"] as? String

        cell.detailTextLabel?.text = (time ?? "") + " : " + (username ?? "")

        return cell
    }

    @IBAction func pushGoButton(_ sender: Any) {
        if let currentUser = FIRAuth.auth()?.currentUser {

            if let message = messageTextField.text {
                // 2文字縛り
                if 2 < message.characters.count {
                    SVProgressHUD.showError(withStatus: "Oops!")
                    return
                }
                let time = NSDate.timeIntervalSinceReferenceDate

                let ref = FIRDatabase.database().reference().child(Const.MessagePath)
                let data = [
                    "message": message,
                    "time": String(time),
                    "username": currentUser.displayName]

                ref.childByAutoId().setValue(data)

                SVProgressHUD.showSuccess(withStatus: "Success!")
            }
        }
    }
}
投稿部分
let ref = FIRDatabase.database().reference().child(Const.MessagePath)
let data = [
    "message": message,
    "time": String(time),
    "username": currentUser.displayName]

ref.childByAutoId().setValue(data)
FIRDatabase.database().reference().childでパスを指定してref.childByAutoId().setValueで保存です。
取得とイベントの登録
if FIRAuth.auth()?.currentUser != nil {
    let postsRef = FIRDatabase.database().reference().child(Const.MessagePath)
    postsRef.observe(.childAdded, with: { snapshot in
        SVProgressHUD.dismiss()
        if let _ = FIRAuth.auth()?.currentUser?.uid {
            let dictionary = snapshot.value as! [String: AnyObject]
            self.messageArray.insert(dictionary, at: 0)
            self.tableView.reloadData()
        }
    })
}
投稿する時と同じようにFIRDatabase.database().reference().childでパスを指定してobserveでchildAddedのイベントを指定します。
これによって初回にデータの数だけ実行されます。その後データの追加があった時にも実行されるので動的にデータが表示されるようになります。
実際に行なってみました。
できました! リアルタイムにメッセージが追加されています 🙂
初回表示時にデータを全件取得し表示していたり一件ごとにtableViewを更新している部分などは少し微妙ですがひとまずこれでメッセージの投稿 / 取得は完了です。
シリーズ化して今後このアプリをブラッシュアップしていこうと思います。
ソースコードはこちらからダウンロードできます。
SHARE THIS POST
LIKE US! :)